Archives for category: mixed media

IMG_2693IMG_2696IMG_2697

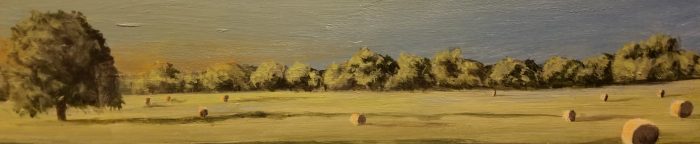
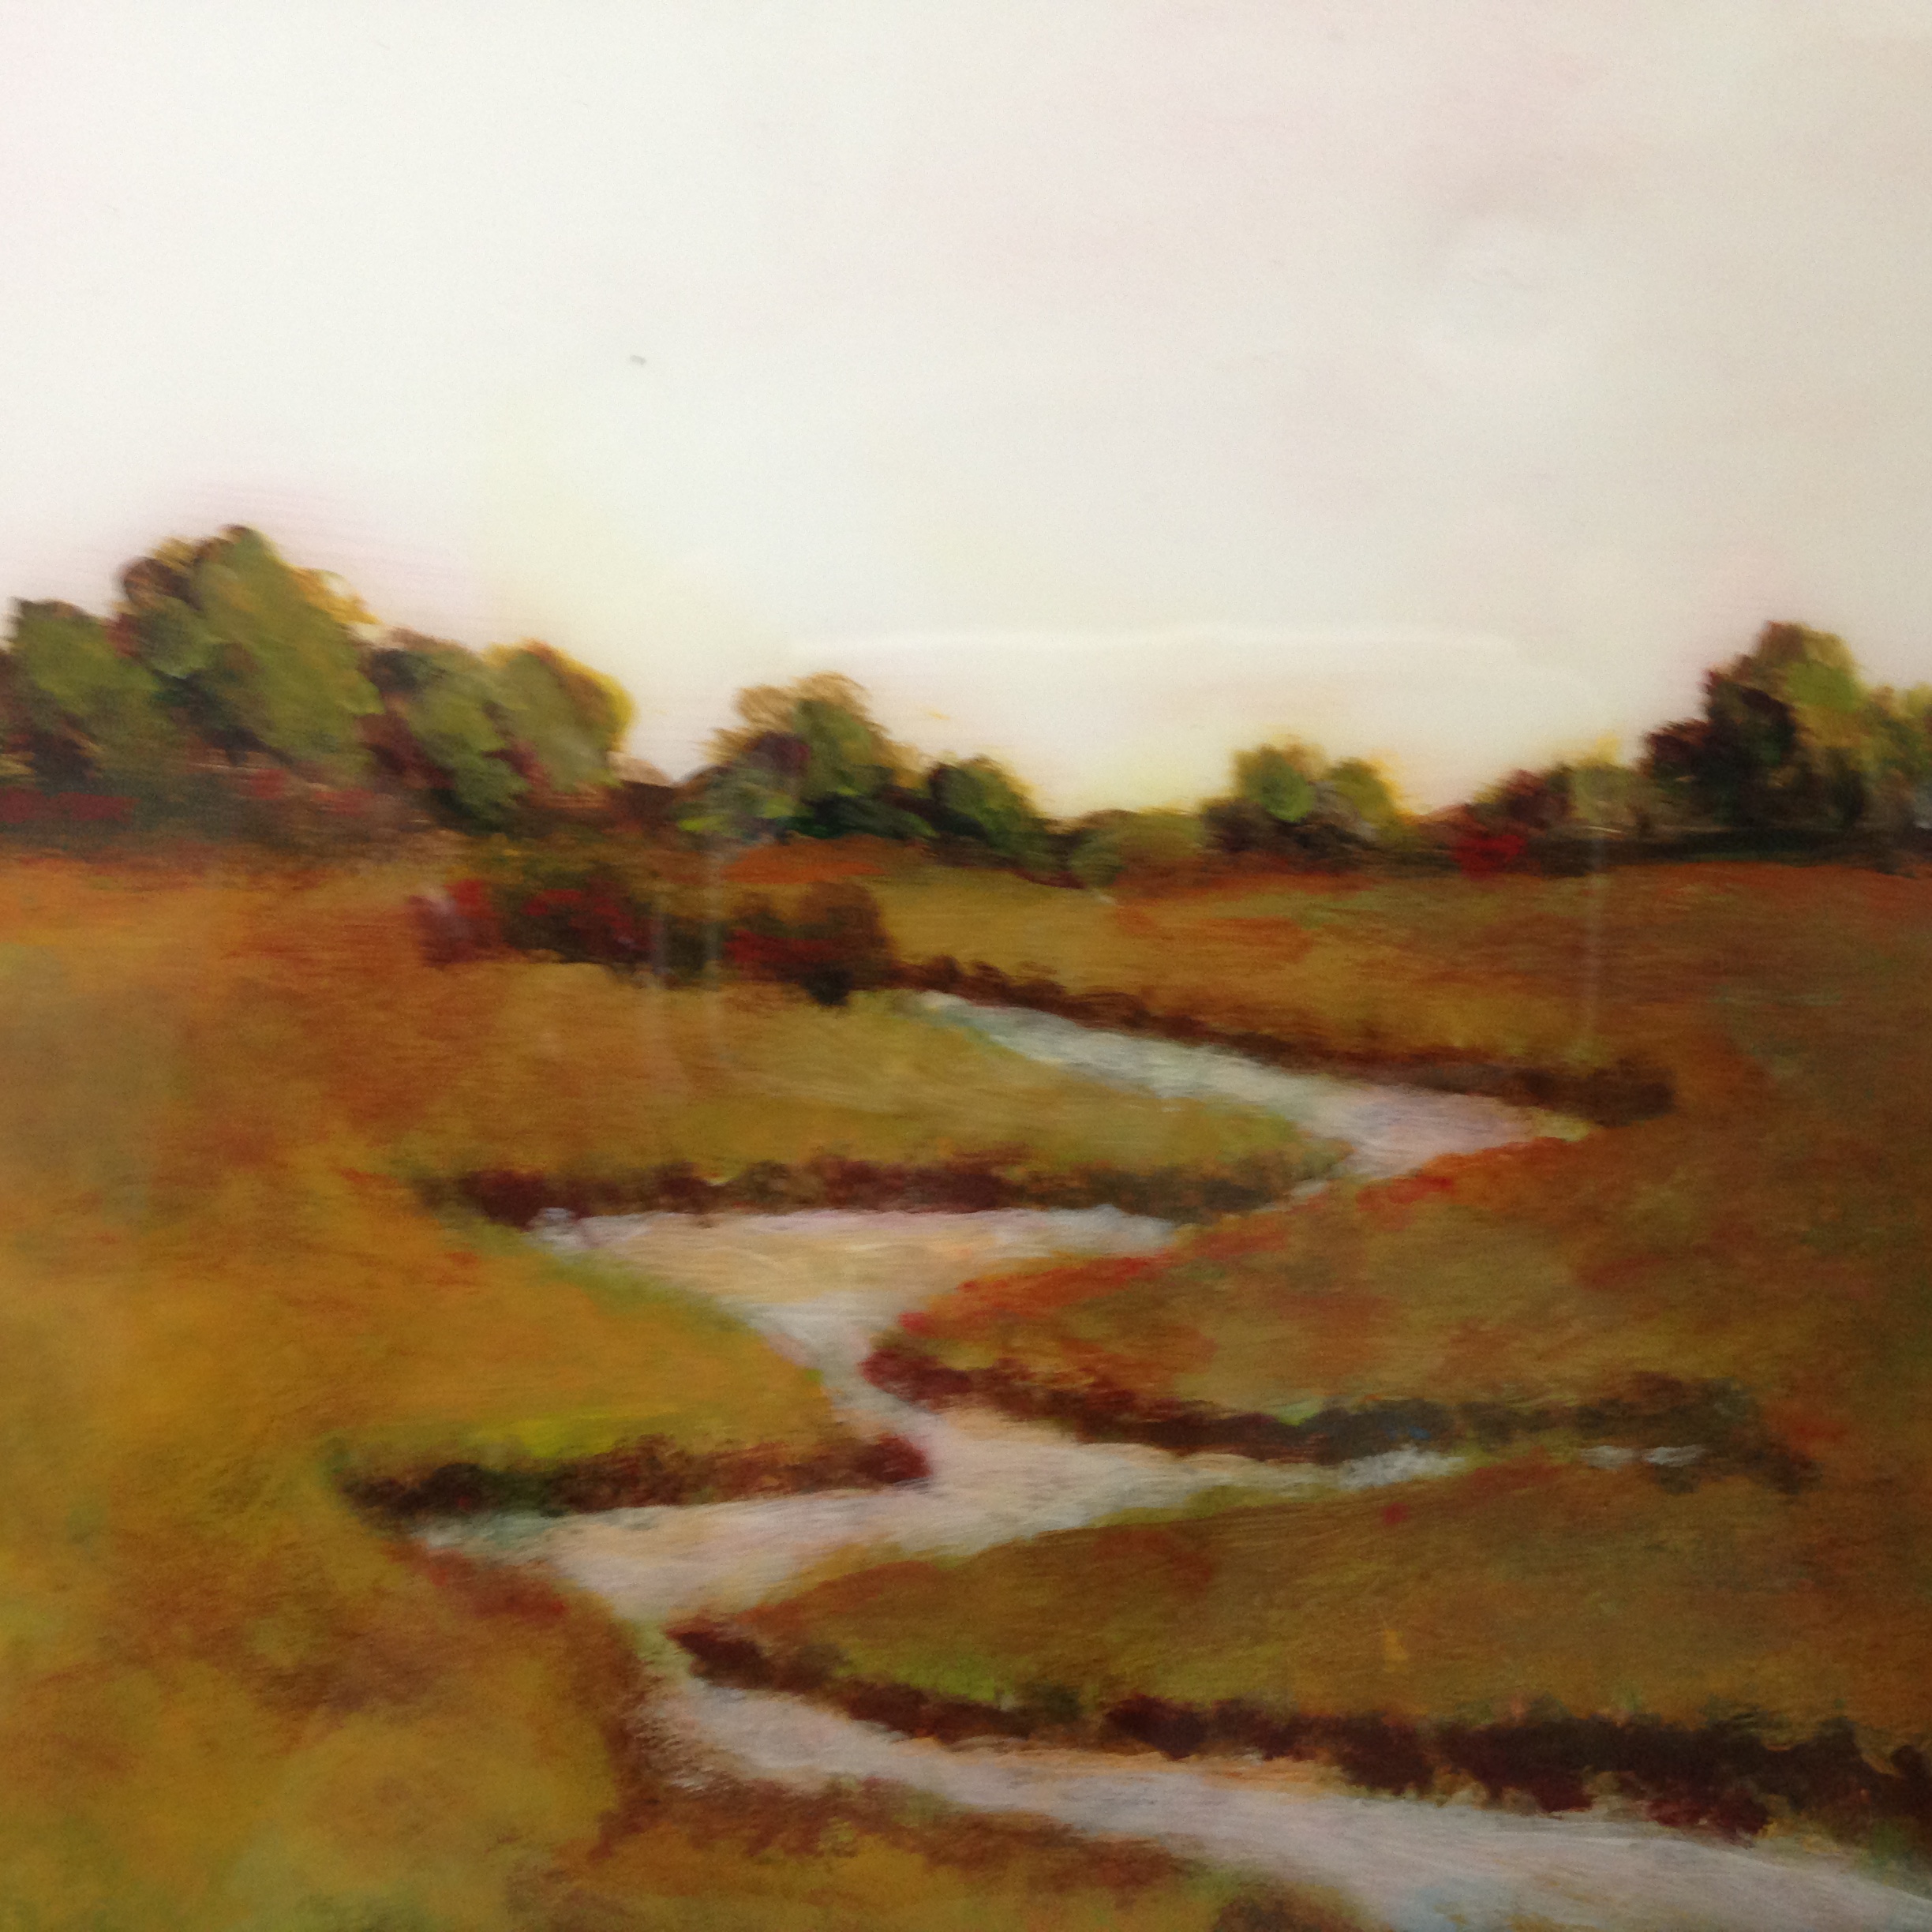
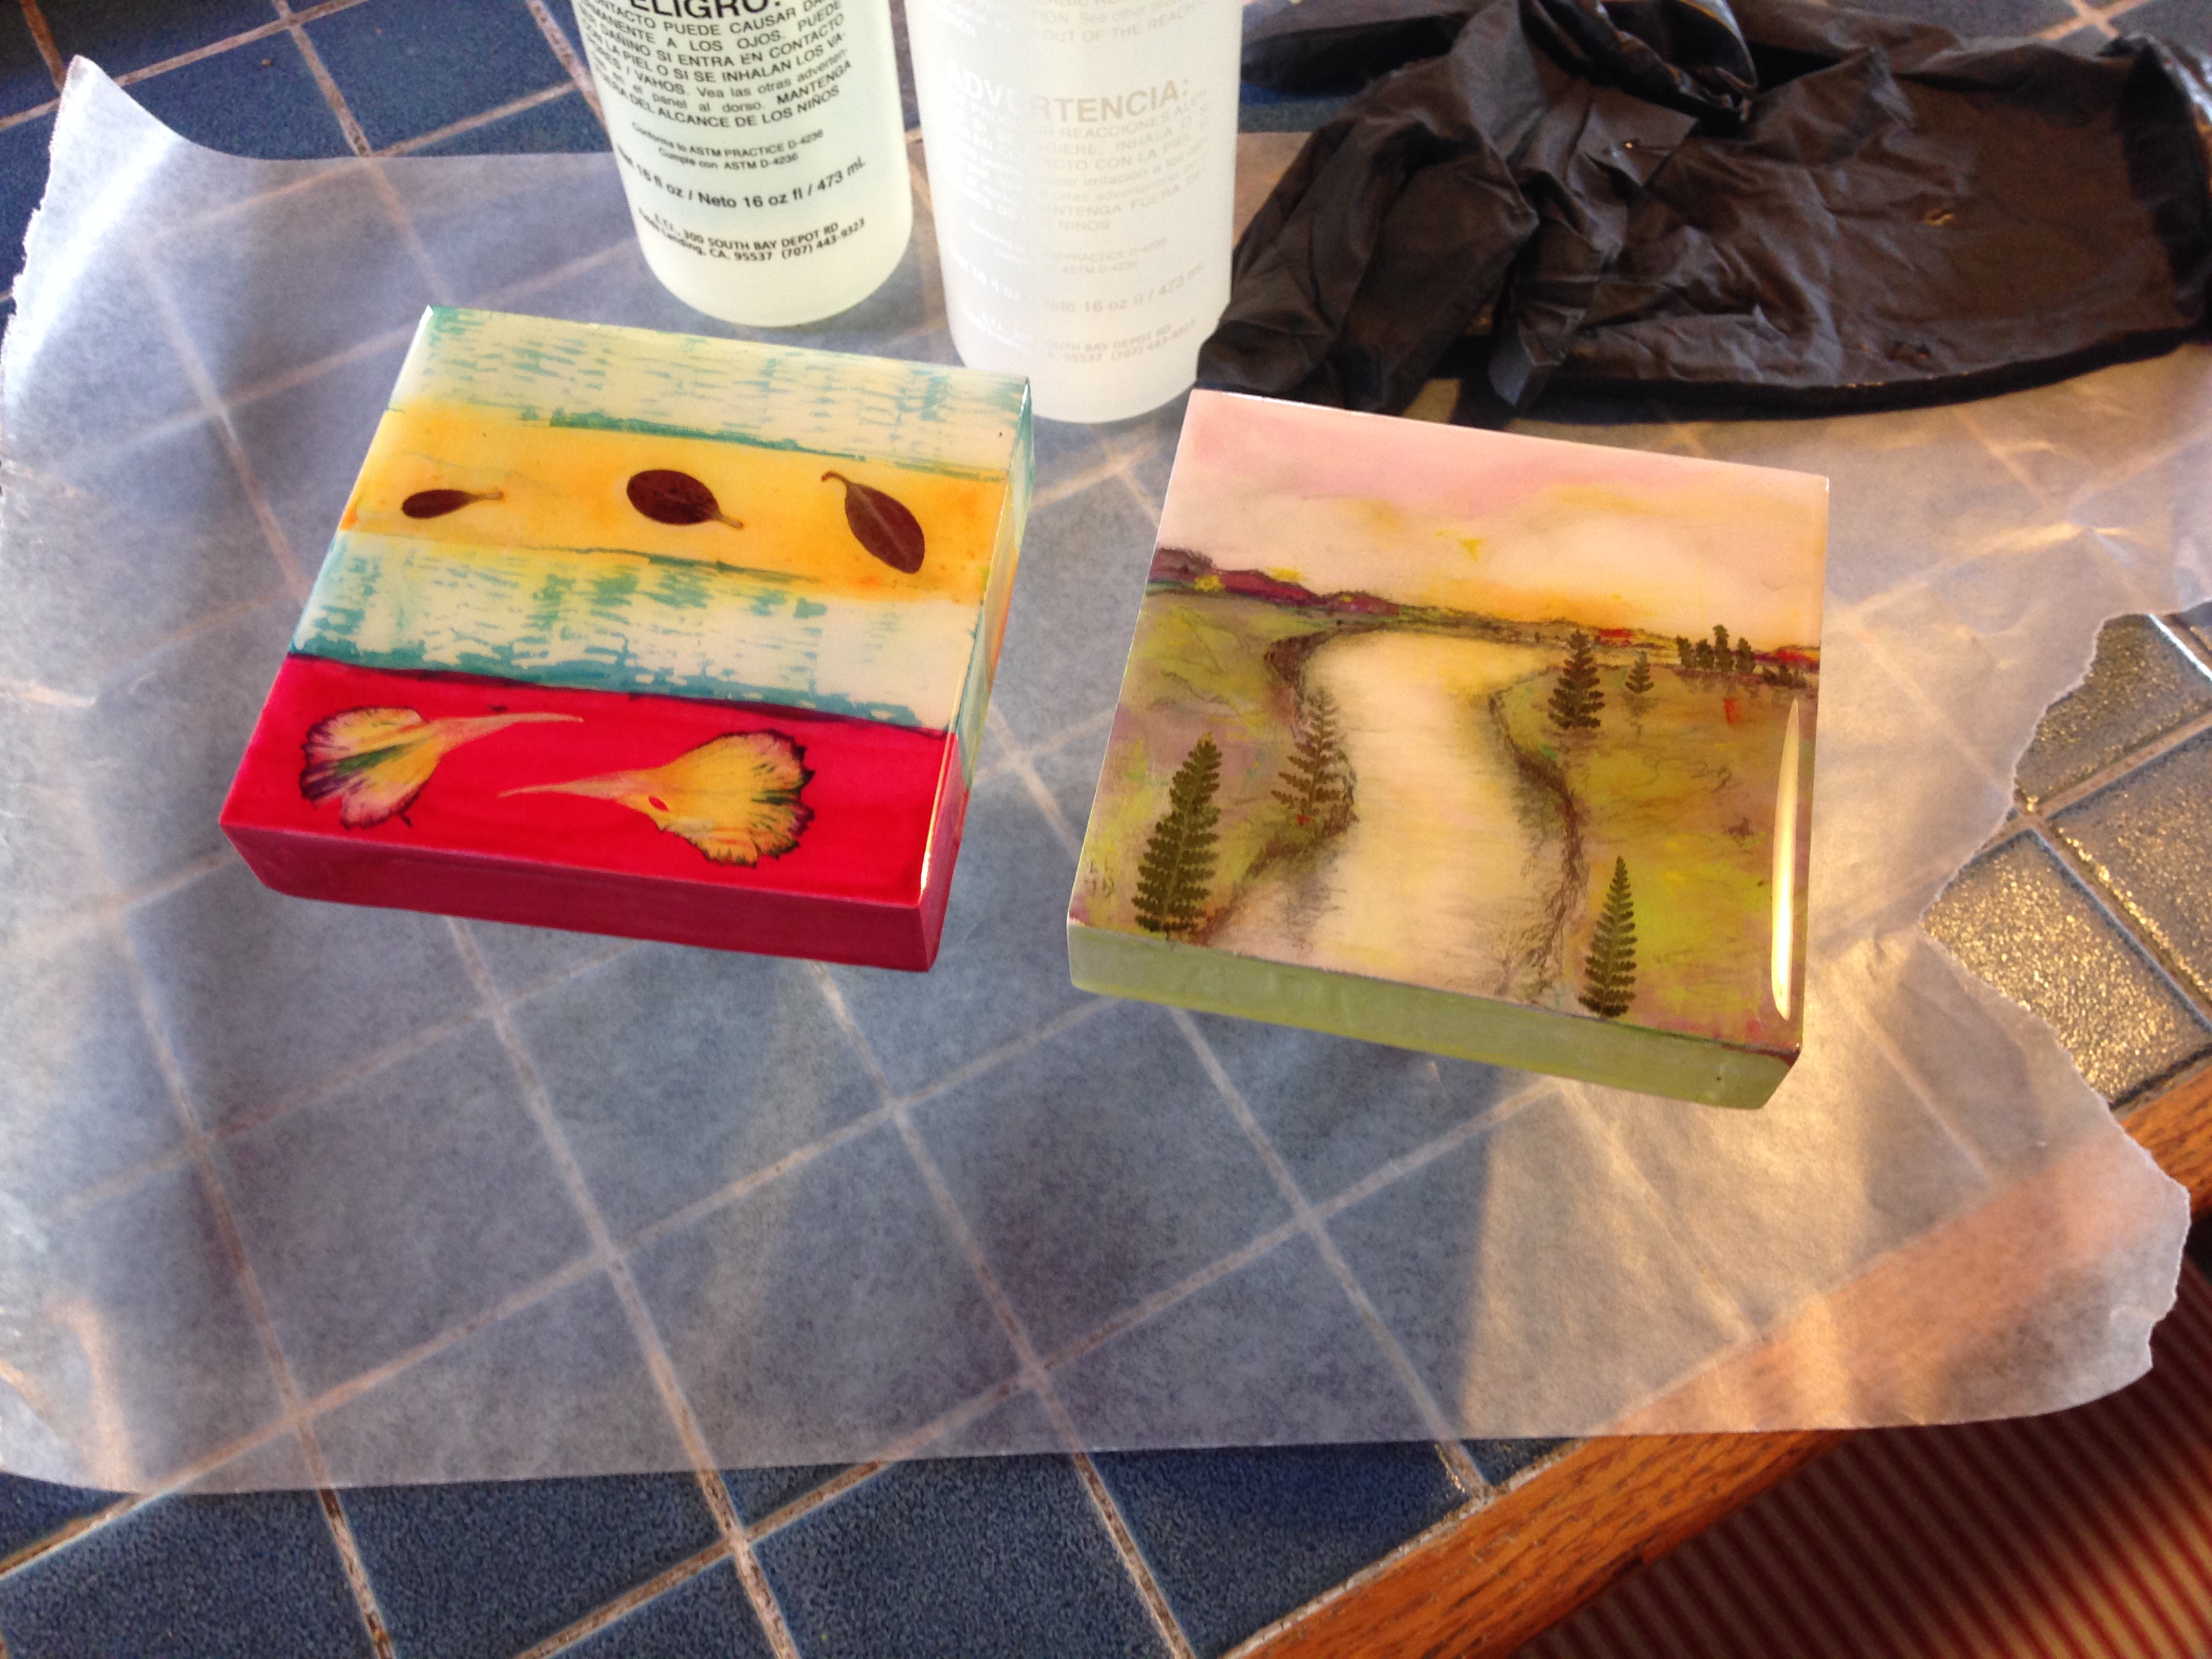
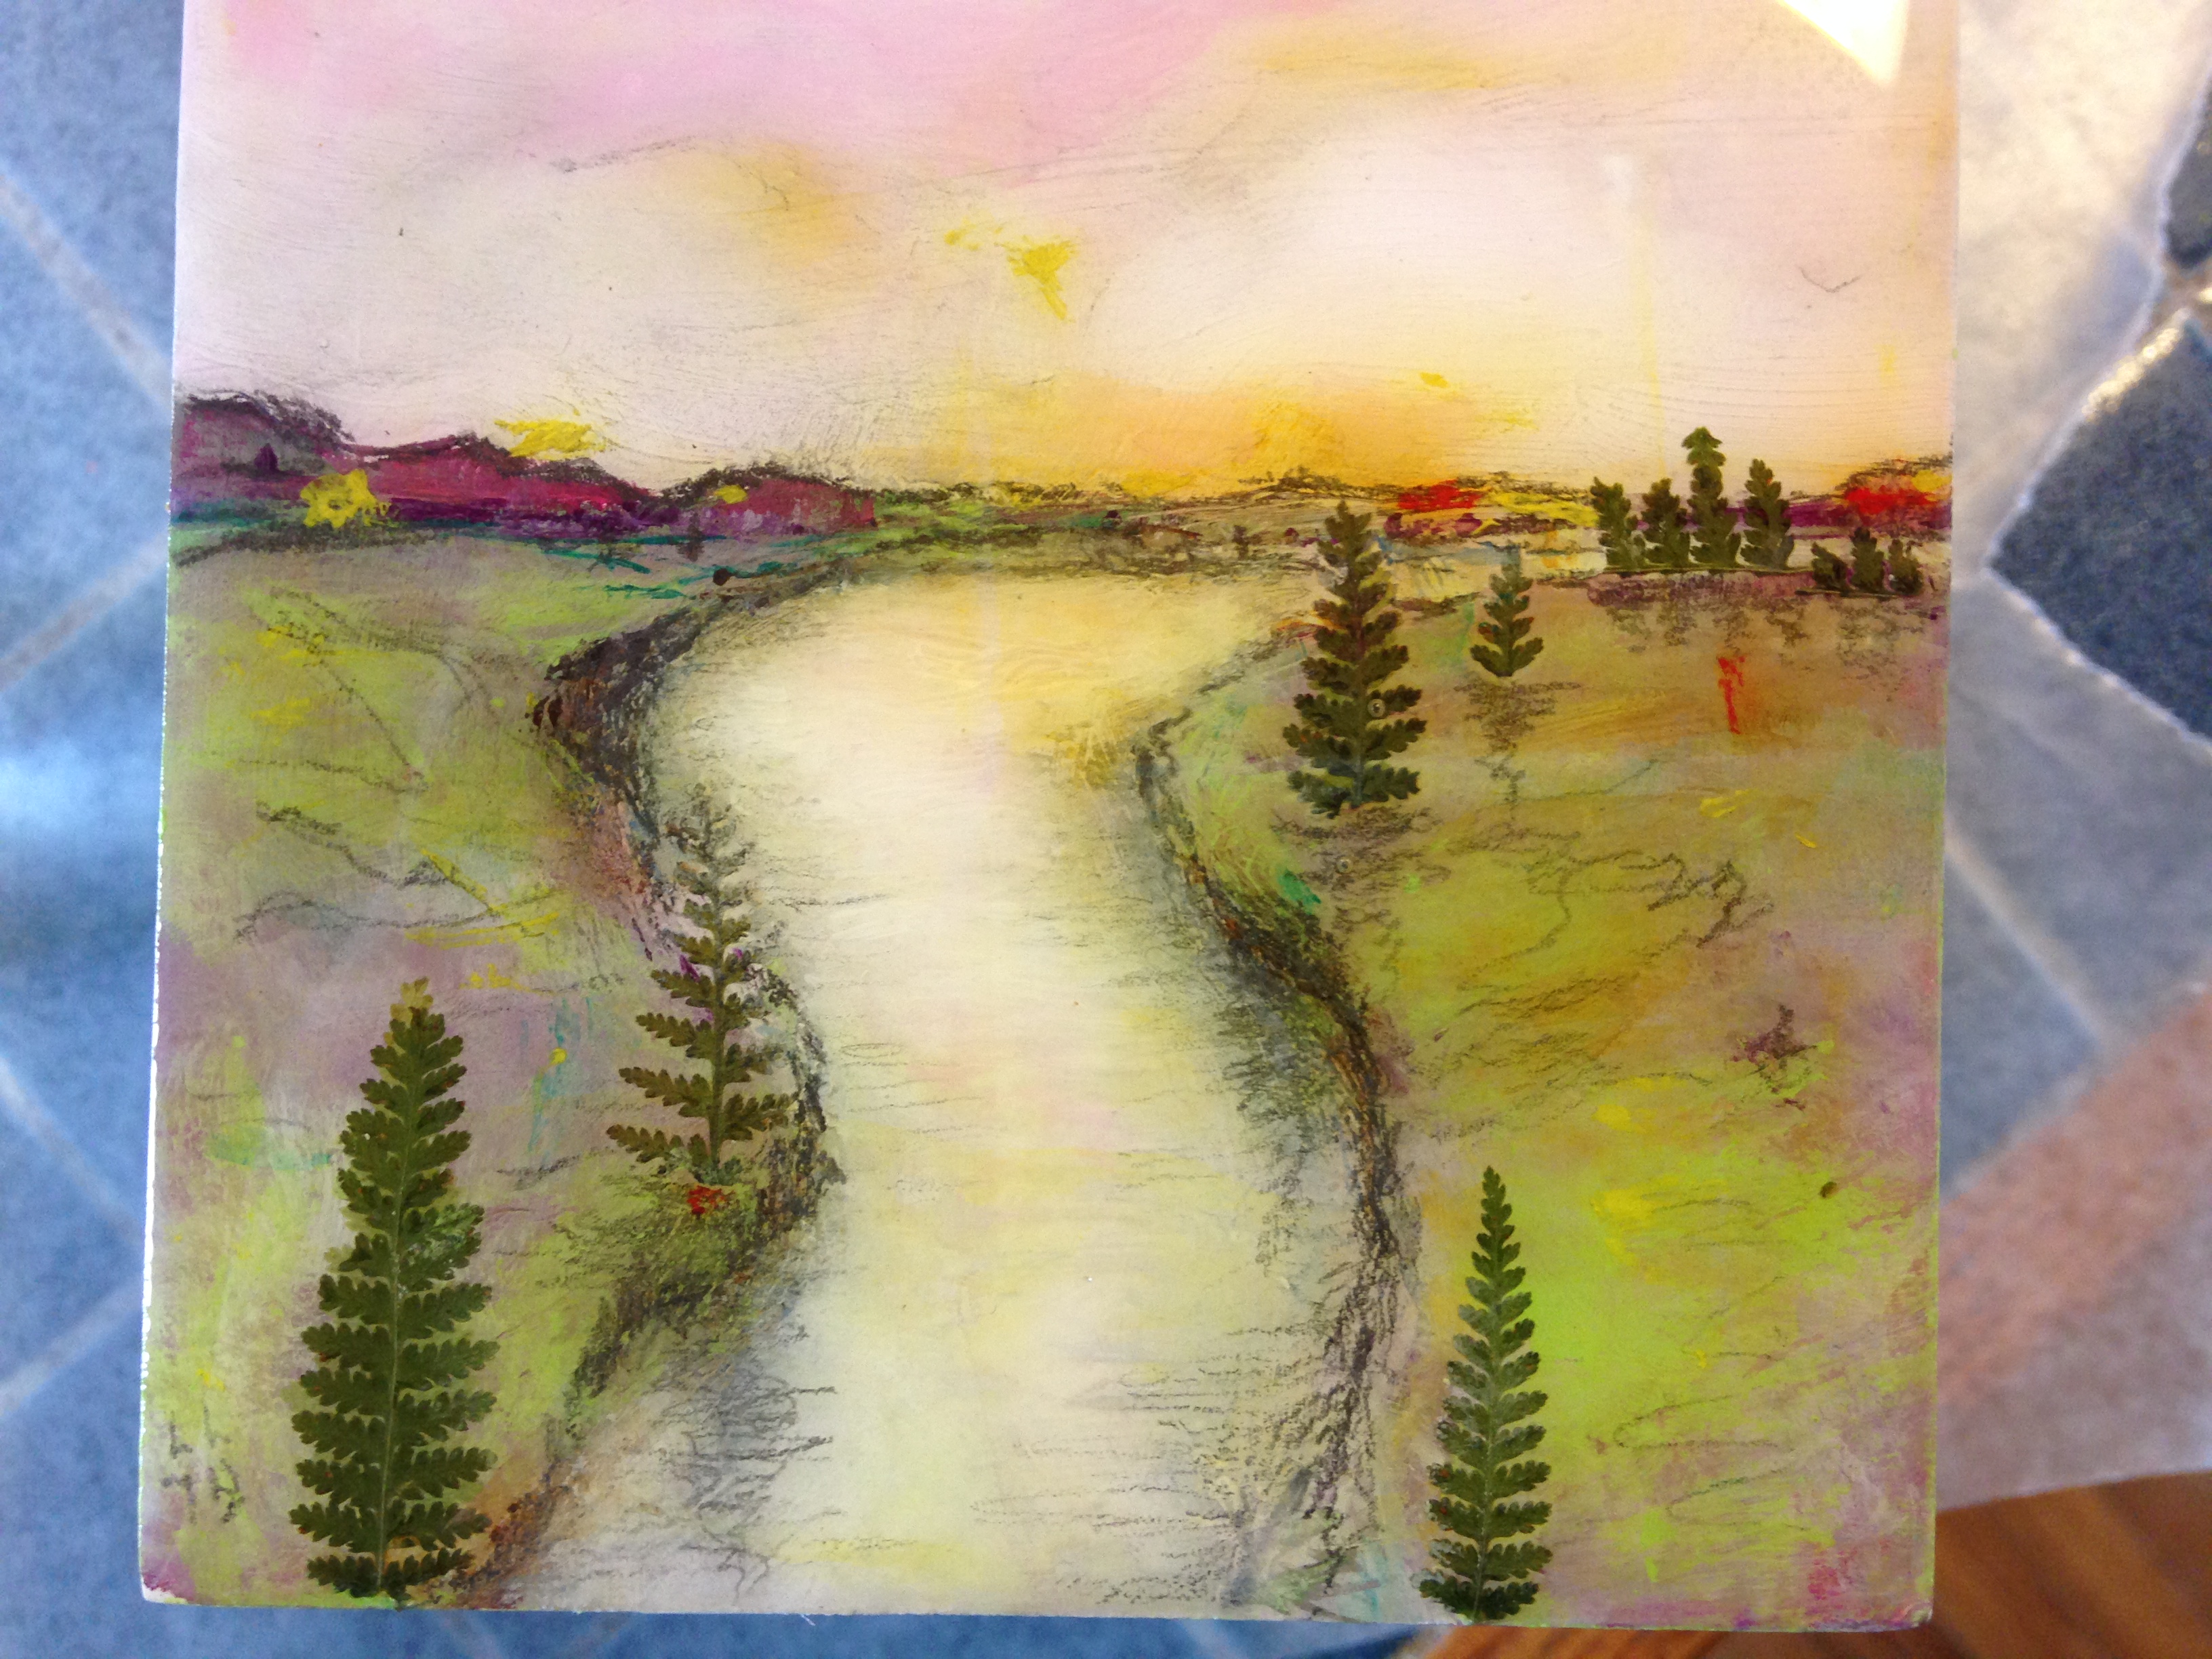
For the last three years my work has been exclusively collage. Recently, though, I have focused more closely on my old love of landscape with the result that the collage aspect of those paintings has been limited to foreground grasses which do tend to add an element of depth and perspective by creating for the viewer the illusion that he o she is in close proximity to the image looking far into the distance.

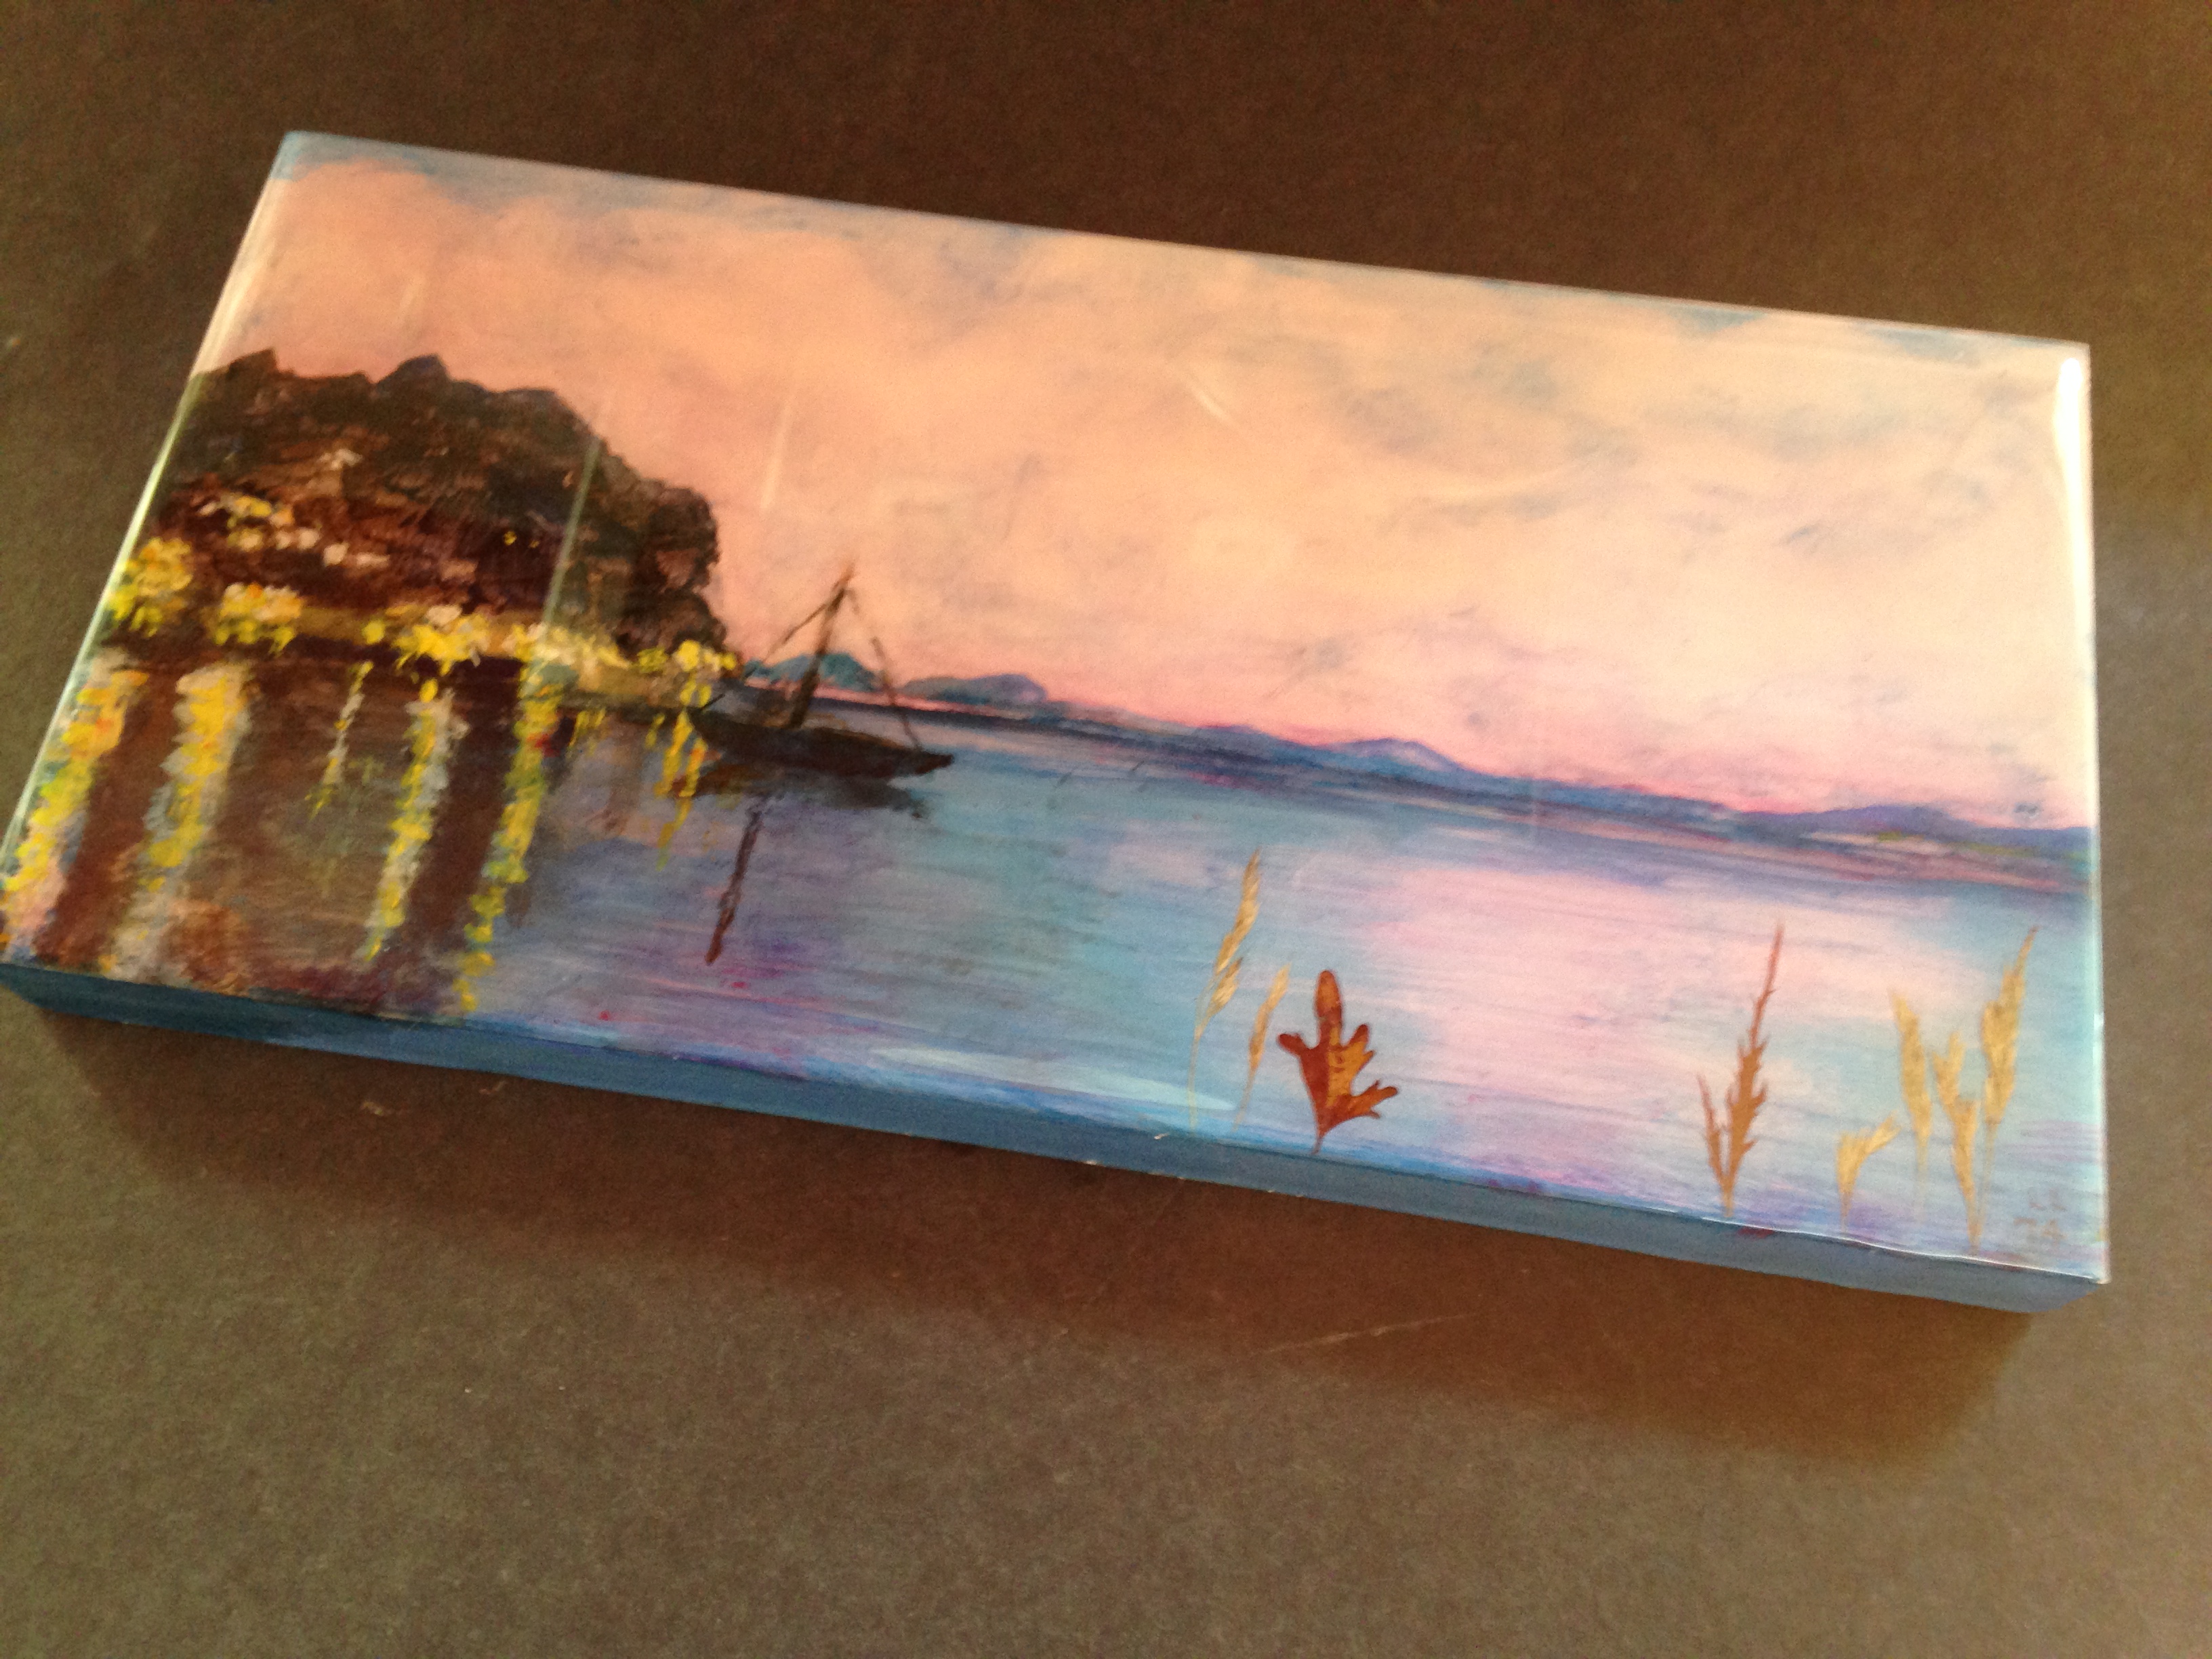
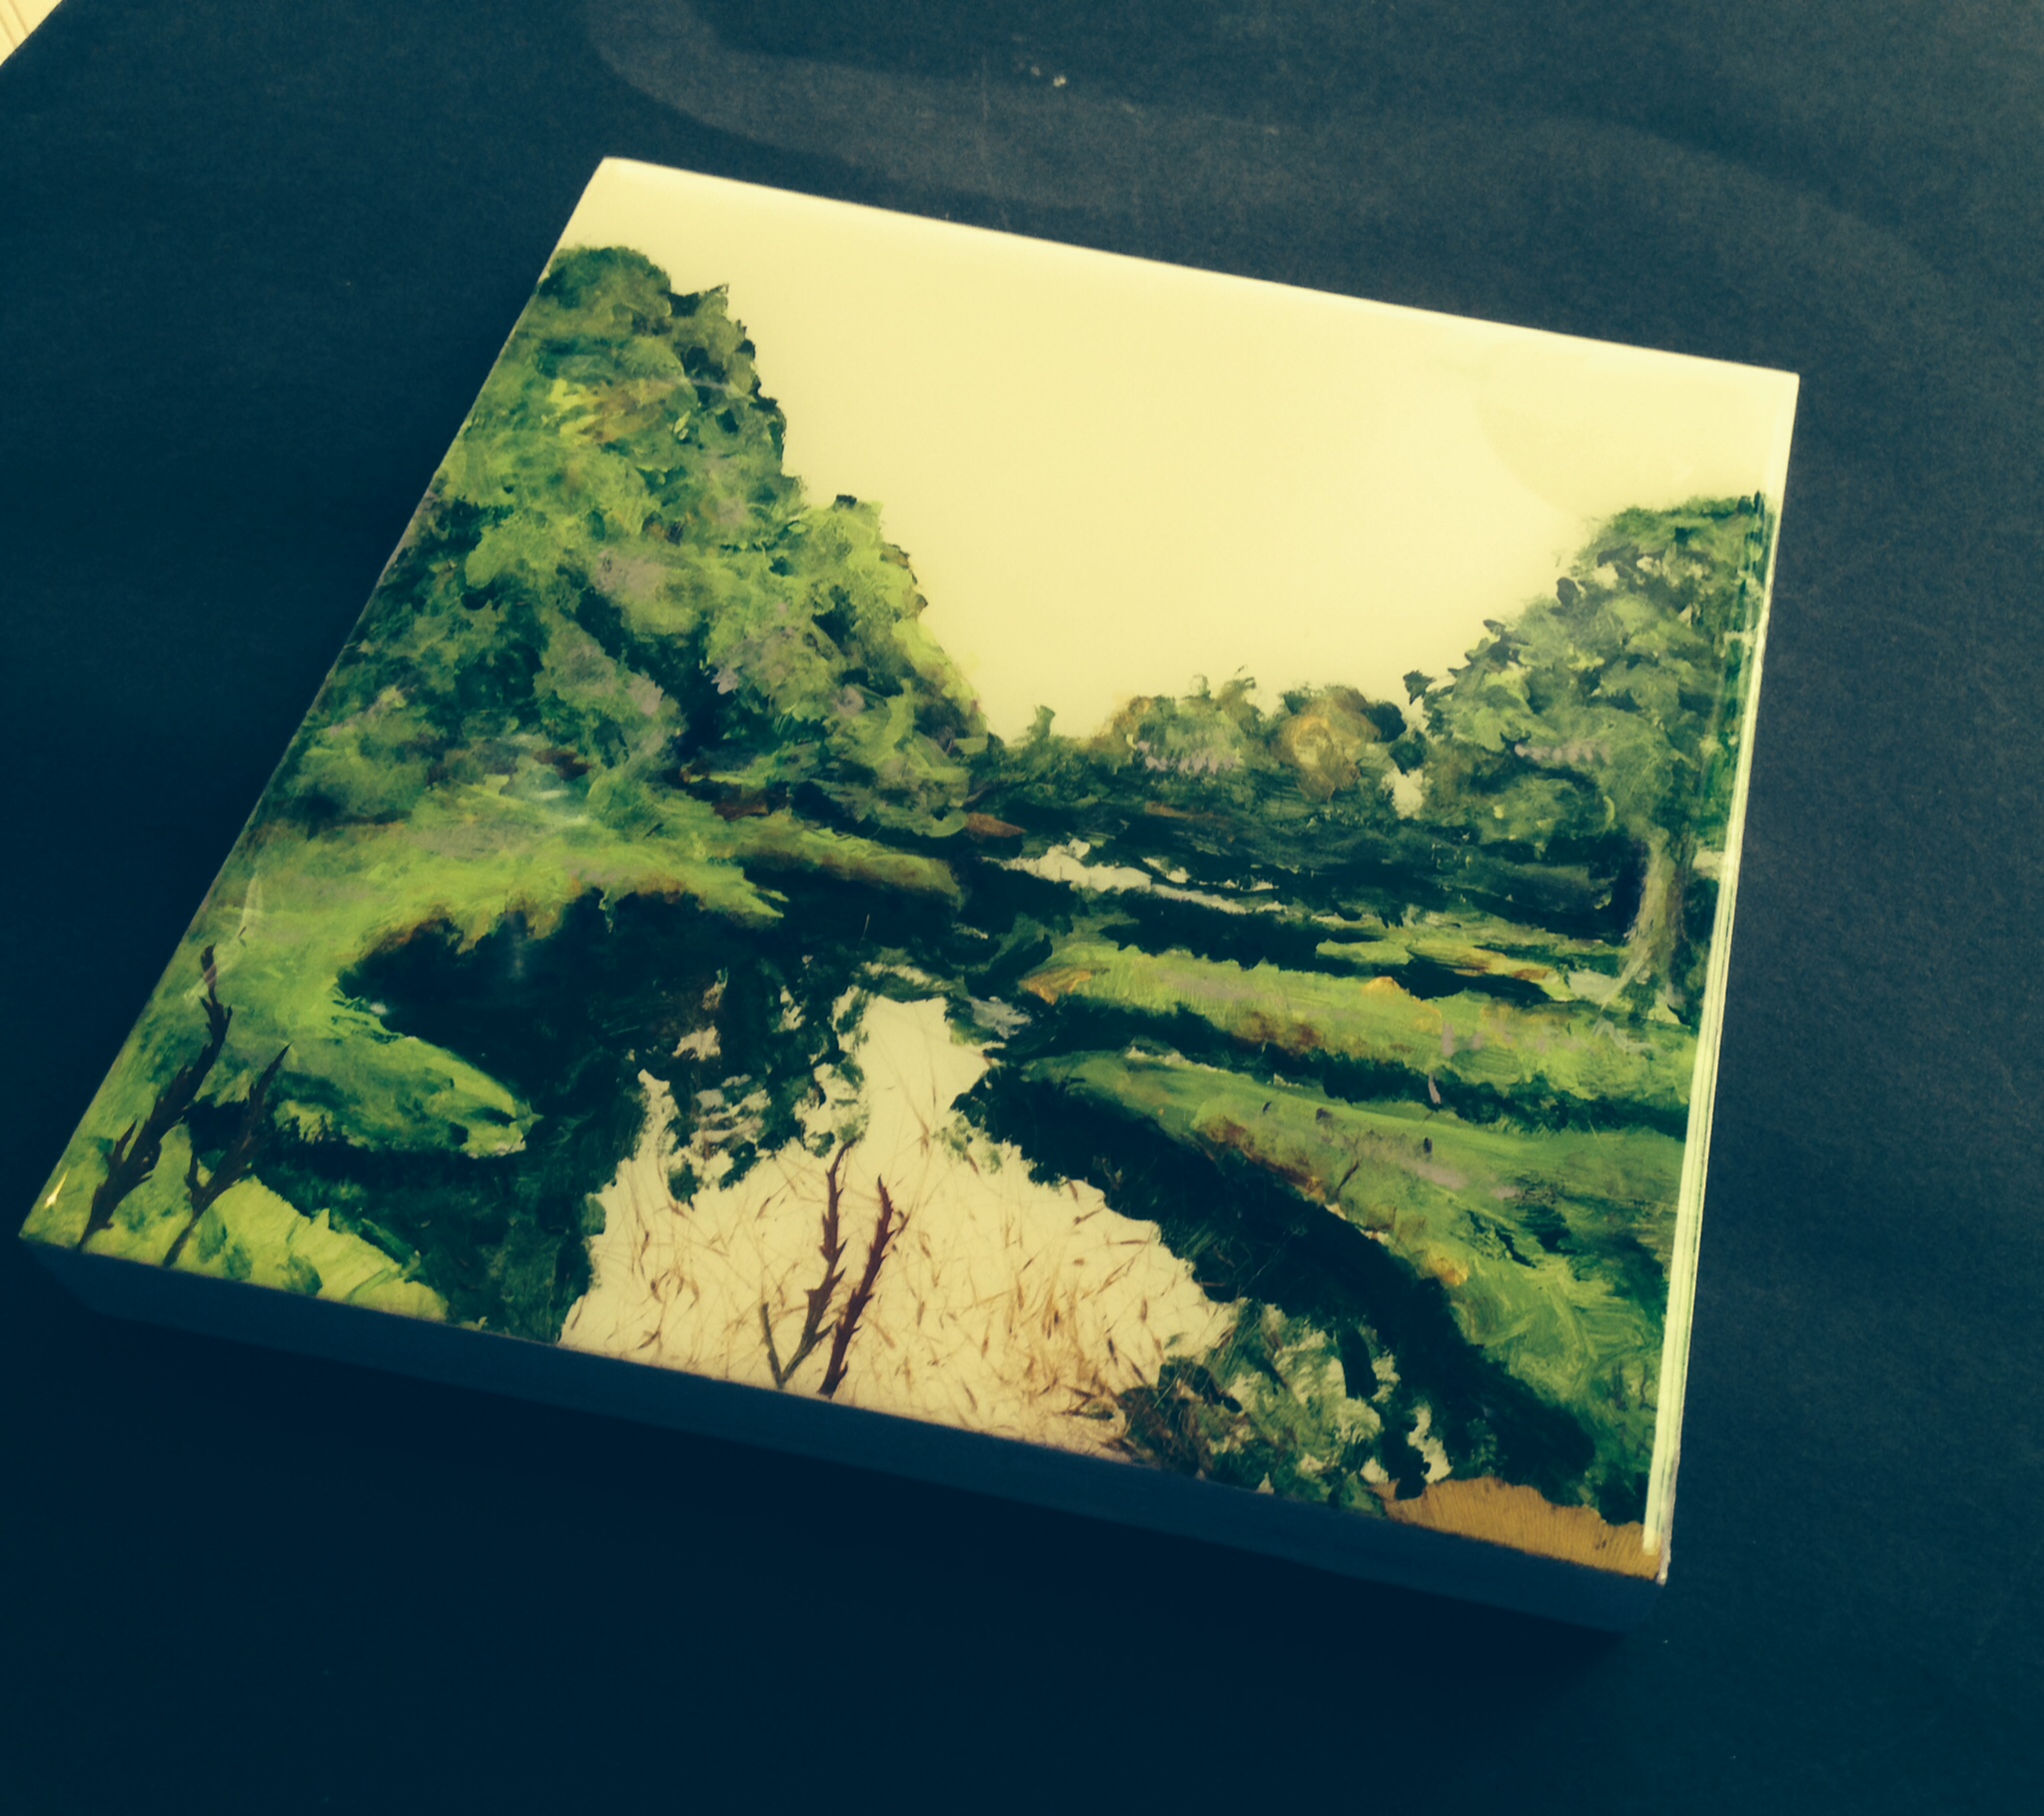
Depending on the nature of the scene, however, and the size of the piece I am finding that adding plants is not a requirement to achieve the desired result. Hence my last three small works (the largest is 6″ x 6″)

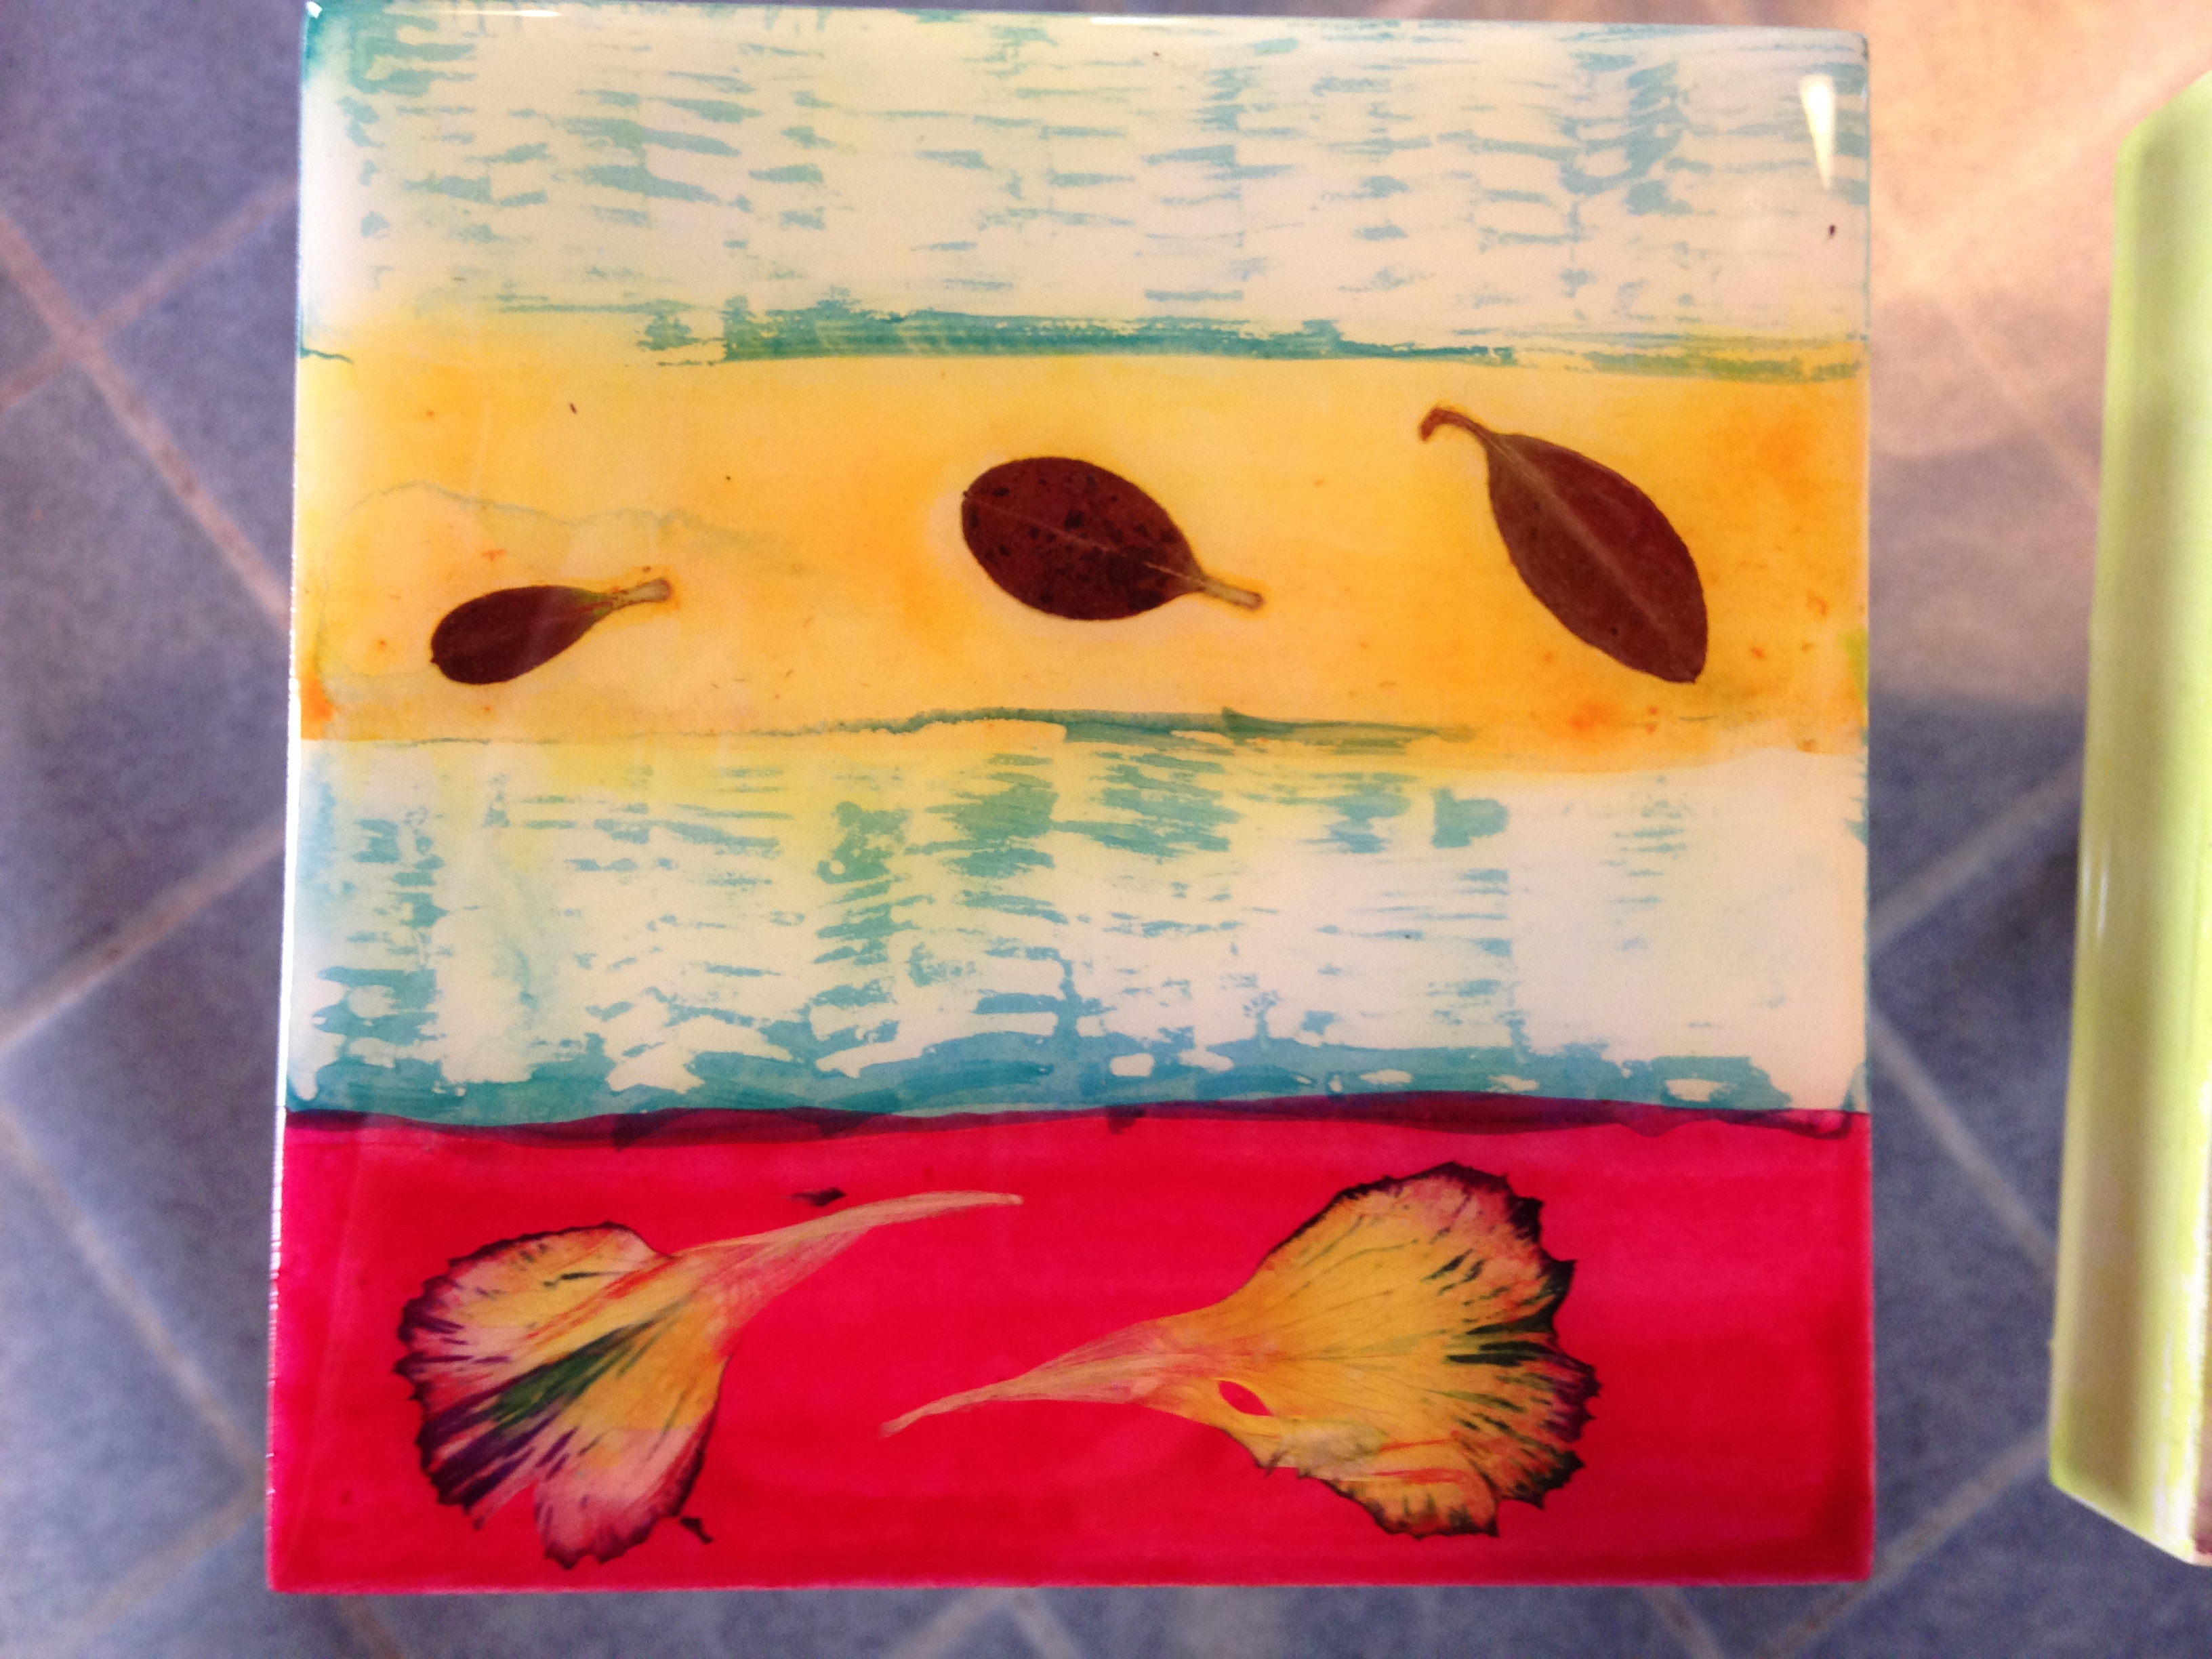
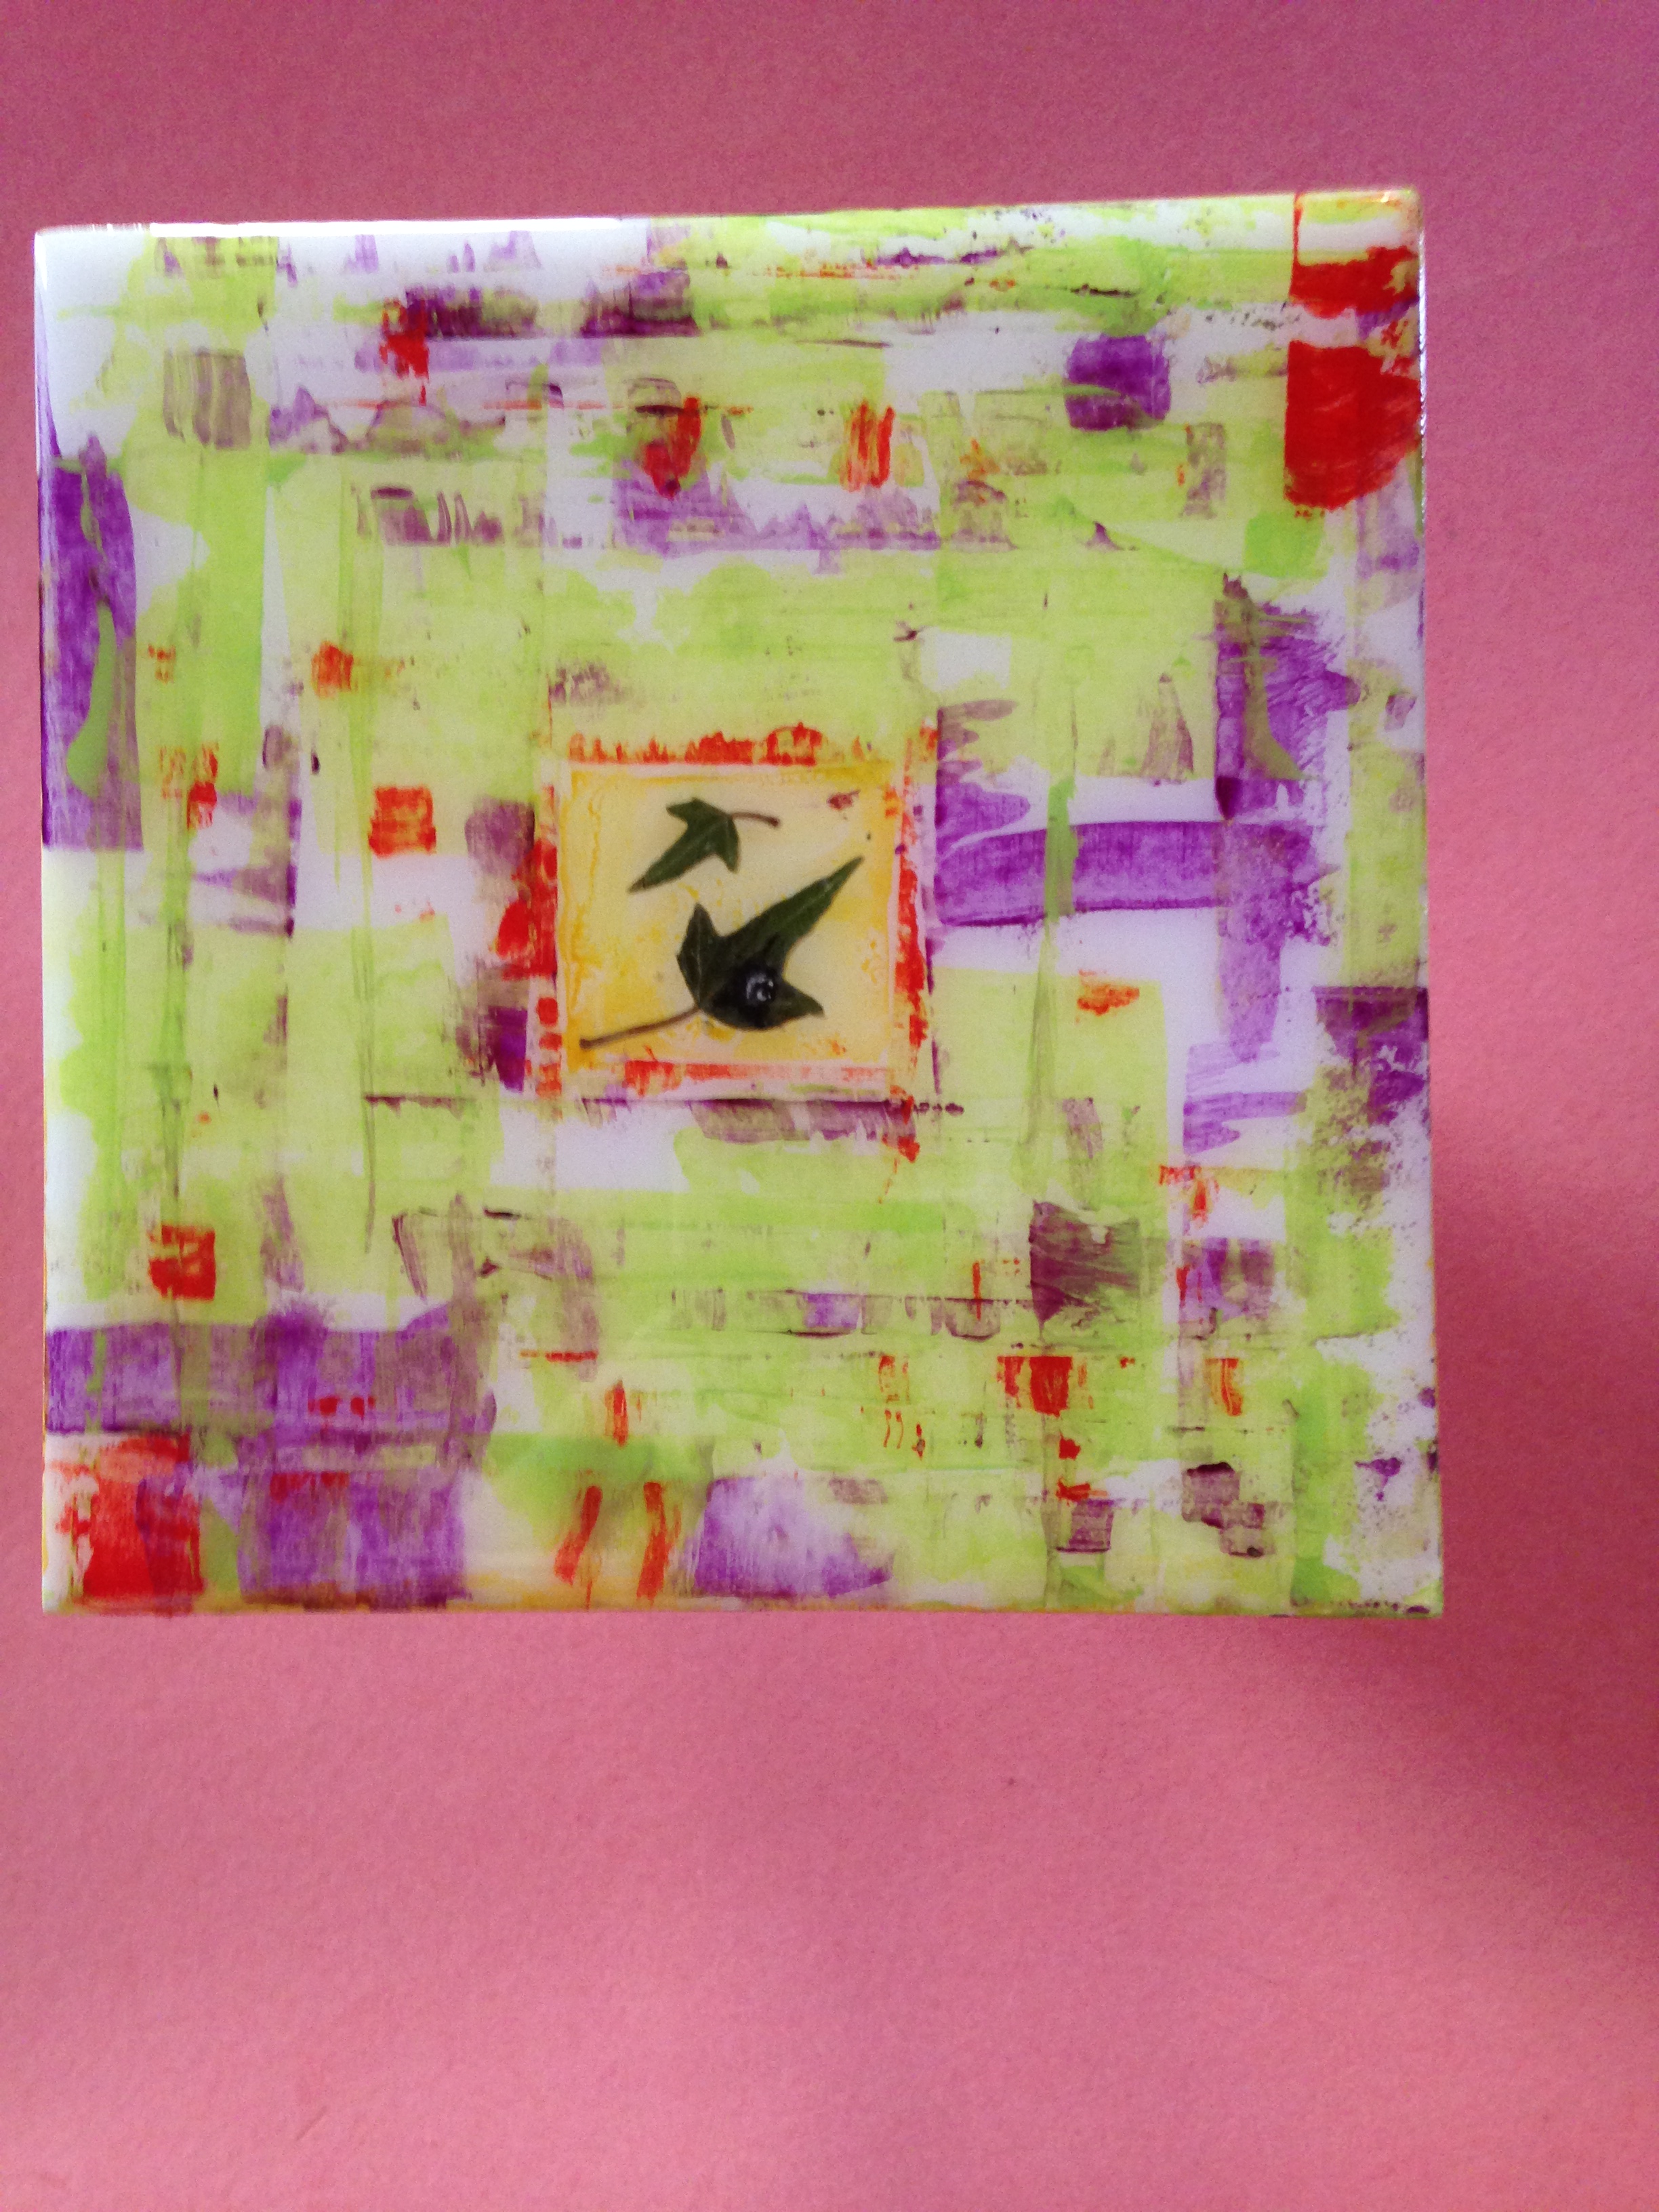
While I have no intention of abandoning my work in collage, I did enjoy allowing the paintings to stand on their own.

Advertisement

IMG_2175IMG_2179IMG_2177

Suddenly, the signs of spring I have been looking for. Yes, the snow is melting and the days are longer but more importantly, Im feeling the energy that flows when my email starts filling up with show invitations. Today I had my first meeting with the president of the Artists’ Cooperative Gallery of Westerly which I was recently juried into. Their next scheduled show is themed “Views from the Street” so my landscapes will work there.

Meanwhile my daughter, Shelley who is a talented photographer with a studio at a nearby converted velvet mill, has invited me to join her for a pop up show at her studio in two weeks. She has chosen some of my abstract botanials for that.

Finally, I plan to introduce a new series of abstract paintings featuring various sizes of metal washers (no plants) and want to produce enough pieces for a meaningful launch of the series at the spring shows.

That means multi-tasking. This week, these are three of five pieces that are in the middle of the process of soaking up their resin baths. By the time they are cured and ready to show, I hope to have many more of all three series waiting for their resin treatments as well. Somehow I’ll have to make time to produce more plants, but with a good foot or more of snow still on the ground, I’m guessing I have some leeway there.

IMG_1988

Until now I’ve mastered my resin-pouring skills on little wood panels ranging in size from 4″x4″ to 8″x8″ and I’ve learned a lot. Enough to brave a large 16″16 piece. Not exactly a piece of cake, but in the end it worked. For future pieces this size I may make life easier by using a larger squeegee tool than the playing cards I set out when I resin groups of smaller pieces. Maybe a deck of kid-sized Go Fish cards from the toy department will do the trick. Inexpensive sponge paintbrushes work well for smoothing out the drips on the sides of the panels in the first hour of drying. By then the resin has set enough to stay put during the rest of the cure time.

I made this background wash by dropping well-diluted acrylic paints into a thick wash of water. I allowed most of it to dry at it’s own rate but created some interest at the corners by blowing stronger colors toward the center with a drinking straw. I tried out a burst of dramatic papyrus but, in the end, settled on the smooth curves on nasturtium leaves which nestled naturally into pools of color. These washes are a test for my patience as I have learned that only slow unaided drying of pooled water yields the thin filaments of deep color that I love against the transparencies.

IMG_1774

This 12″ x 6″ resin-coated piece features several plants I’ve used before and one I haven’t — bald cedar. The long cedar leaf spans all three of the rectangles in the painting and ties the whole thing together, I think. Compositionally, it serves almost the same purpose as the garden asparagus I’ve used in some of my works on paper, but is sturdier and easier to deal with at the stage of adhering the plant to the support. Once the resin is poured, any leaf or part of a leaf that is not firmly attached to the wood panel tends to float to and through the surface–a problem that no amount of poking with a toothpick is likely to fix — so proper attachment is critically important.

When using white backgrounds, I don’t always leave the cradle sides white as well, but it works well in this case.

IMG_1770

This week I’m feeling confident in my resining techniques and comfortable with my full-sized propane torch, so I’m trying my hand at some larger pieces. This one measures 6″ x 12″. If that doesn’t sound large, try a few steps of the resin dance yourself and you’ll see it my way. The working window is only about 20 minutes from the first pour to removal of the last bubble and I work with up to six pieces at a time. Still, I’m on the march and have larger panels waiting in the wings.

For the real plants in the foreground, I chose a mix of weeds and garden plants — wild grass seed heads, a piece of Japanese maple, and a little leaf of curly coleus.

IMG_1709

Foam flowers or Heuchera, are fuzzy little white stems that don’t make themselves particularly useful for purposes of floral composition. The leaves of this hardy plant, on the other hand, still look three-dimensional even when pressed flat. I love the depth of color around the veining and I especially love the asymmetrical and somewhat tattered look of the outer edges. I added some abstract ‘framing’ to this one with touches of sap green, cobalt blue and gold and I popped on a couple of dew drops for fun. The edges are painted in the same colors and style and the whole 5×5 piece is coated in three layers of glossy resin.

resinlandscape

At the VIRTU Art Festival in Westerly, Rhode Island, last week, my little 4 x 4 landscape was the first to go so I felt emboldened to try my hand at an 8 x 8. The real botanicals in this piece are all in the immediate foreground. I used feathergrass against the white of the reflection in the water, added just the tip of a ginkgo leaf on the lower right, and a few individual sections of a Japanese maple leaf just for some added drama and color. As it turns out, feathergrass tends to lift a little on the first application of resin making it hard to reach a glass-like finish in less than three coats, so I had to wait a full 4 days to see the finished product. I think it was worth it though. Next in line for the resin bath is a farm scene in which I use only my ferns at the edges of a field.

IMG_1542

IMG_1543

IMG_1544

Having a great time with my new project but there’s a lot to protect. Note the latex gloves, and the waxed paper to protect my counter. Then there is the issue of my lungs. Need to upgrade to a full-on gas mask even though there are hardly any noticable fumes from the Envirotex two-part resin system I use. Better safe than sorry and I’m so happy with the process and results that I plan to gear up for a full series. This little guys are just 4″ x 4″. The abstract features azalea leaves and carnation petals, while the little landscape sticks to tried-and-true ferns. My next piece will be a boat at sea. Haven’t settled on what plant to use to represent land flora and sails. Last season, raspberry leaves made great sails, but, alas, my raspberry bush is not yet prepared to supply me with more.

I’ll be showing these at Lippett Park in Providence on May 17th, weather permitting, and at the big VIRTU art festival in Wilcox Park in Westerly, Rhode Island on Memorial Day weekend. Meanwhile they’ll be in my Etsy shop.

ARTresin1

ARTresin2

Resin is a wonderful way to preserve and enhance real botanicals, so I decided to try a few pieces on wood panel in order to provide the best possible surface for the ice-smooth resin coating. First, I painted my background on a 5″x 5″ panel. Then, I chose a plain mustard yellow for the 7/8″ sides of the cradle, and mounted my two sweet ivy leaves. Before coating the work with resin, I couldn’t resist adding a tiny ‘droplet’ of water on one of the leaves using more acrylic and a tiny signature brush.

IMG_1489_crop

This is the second time I have added a touch of acrylic paint to my printed graphic in order to add depth and contour. Just the sky is left untouched. To bring it to life I added just the top of a pressed ginkgo leaf and a carnation petal as foreground and to lend perspective, I also added some fern ‘trees’ in graduated sizes.

With the start of the show season just weeks away (my first show will be Craftopia at Hope Artistes Village in Pawtucket, Rhode Island on Sunday, April 27) Meanwhile, this one is the latest addition to my Etsy shop.