

Last season, my botanical art was strictly about pressed foliage. Going forward, I plan to continue to exand my exploration of the design possibilities my shade garden plants present. Lately, though, I succumbed to the temptation to begin incorporating some flowers as well. I think it all started when I became impassioned about saving my blizzard-damaged Andromeda. Following the advice of a master gardener, we waited until Spring to see if our listing tree would upright itself naturally. That didn’t happen, so we’ve moved to plan B — removing about 1/3 of the plant to lighten the load and make it possible for us to force the tree into an upright position. In the midst of all of this our Andromeda went on as if nothing had happened. By the time we pruned, we were removing brances laden with snowy clusters in full bloom as well as some still in bud stages. I chose a sampling to process in order to make my latest pressed botanical.
I had, and still have a small cache of ready graphics just waiting to be paired with small pressed botanicals. Today, I sorted much of it out. I left the tiny ivy in its natural state and added some color to my azalia in order to compliment the backgrounds. Everything in the garden is starting to come to life so I guess I’m feeling pressure to finish the business of the last growing season.


Sadly, our URI horticultural expert was overly optimistic in thinking our Andromeda might spring back upright after it was bent over by a blizzard so we’ve moved on to plan B which was a drastic pruning designed to lighten the plant by a ton or so. I have so many healthy branches I’m hoping neighbors will take cuttings to root or just to display. That will leave plenty for me to press.

As I said in my last post, I’m thinking of incorporating flowers into my botanical art for the first time. There’s so much beauty in foliage that I never saw the need, but I couldn’t resist using these roses this week.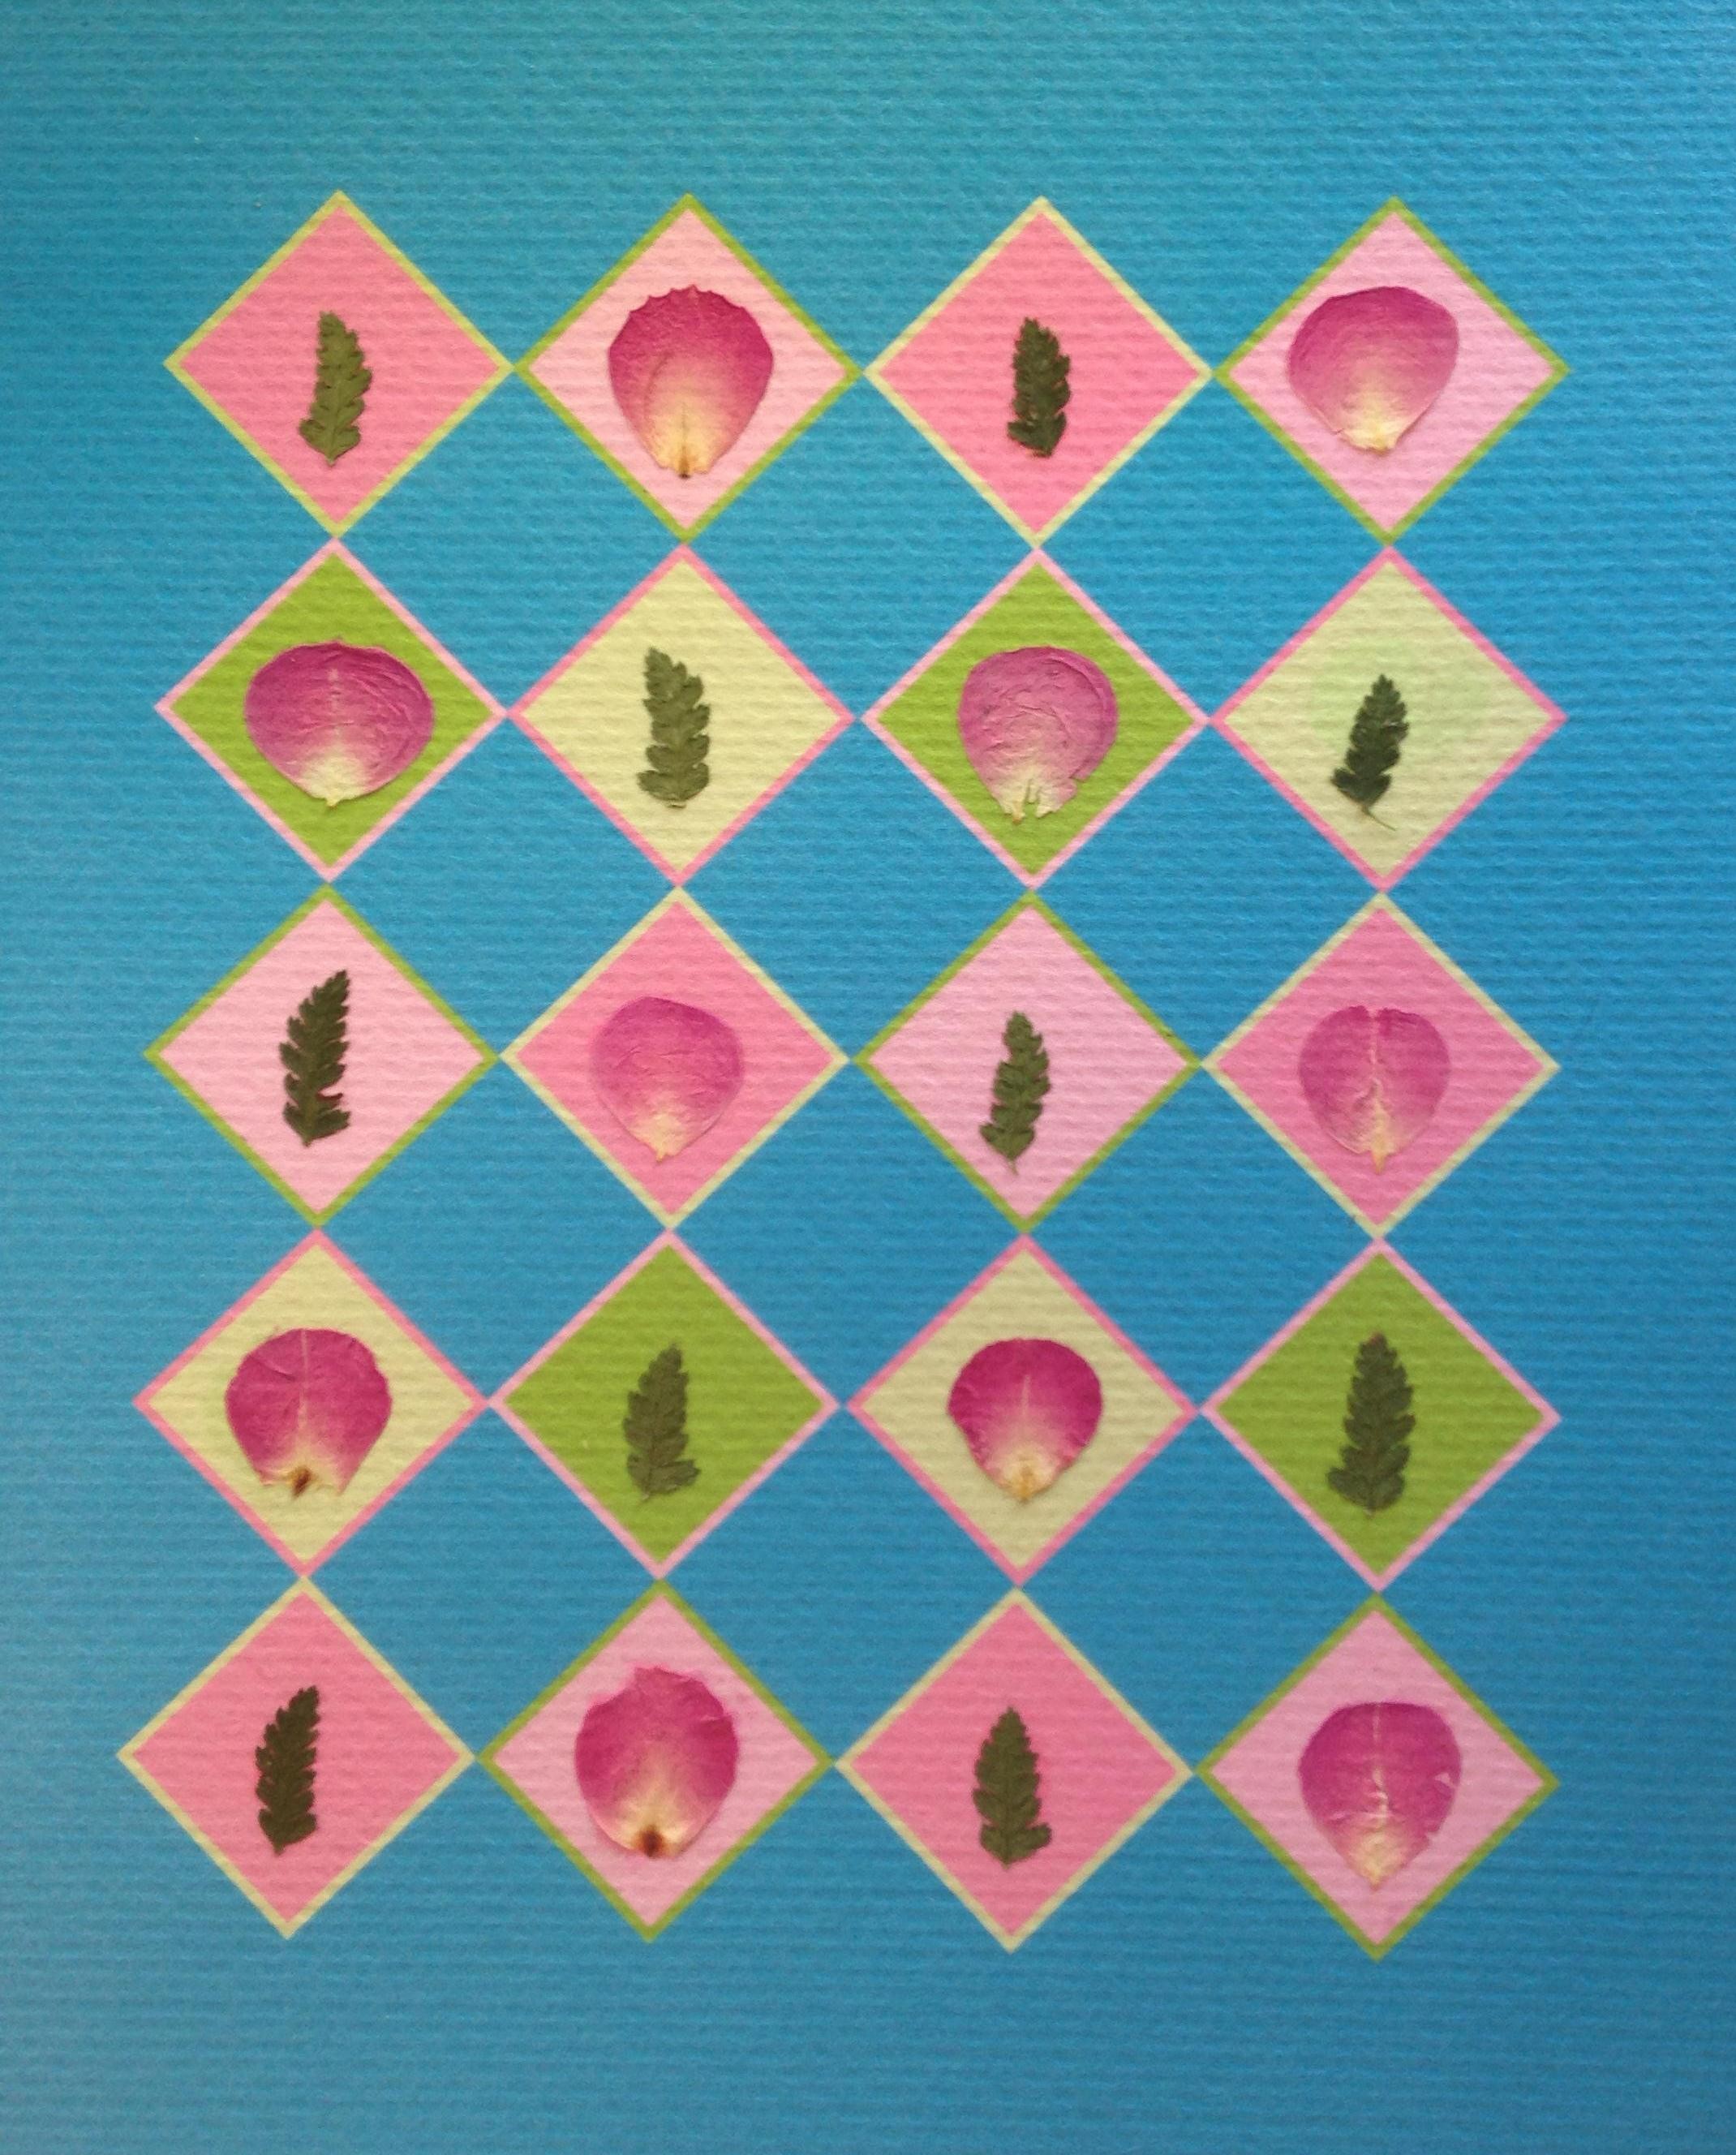
So yesterday I went in one direction and today in another with a different look but an equally nostalgic result. Next we’ll go to a black background and see what feels different. Manwhile, my fallen but not uprooted Andromeda is in full bloom so I have some drupes of flowers in process. They should be ready soon.


I always use my own plants to make my botanical art — well, almost always. I received these lovely little roses as a hostess gift a few weeks ago. Rather than waiting for them to fade, I dried some in silica gel and arranged them in a lovely little vase. I disassembled the rest and pressed them. When the time came to design a background for the first of them, I couldn’t resist my natural sentimentality. It is spring. These are roses. Love is in the air. Why not? Since I tend to go back and forth between my traditional and modern compositions the next rose collage you see may not be as sweet but it will still be as rosy. Did I really write that?
Anyway, you can find this and dozens more in my Etsy shop.
I finally got a chance to create a graphic for the vibrant fern I found still growing in my Stonington Garden. I’ve lost count of the number of snowstorms we’ve had this year, but the fact that this was still plump and green in March — and with a double tip to boot — was quite a happy surprise. I kept it simple with a little miniature ivy ‘bow’ at the base and a faux mat fashioned with graphics alone. (The outer mat is real of course)



I put my botanicals into three general categories — abstract, representational, and traditional. I’ve spent a lot of time on the first two lately. Time to move on to some more traditional pieces — with a twist I hope.
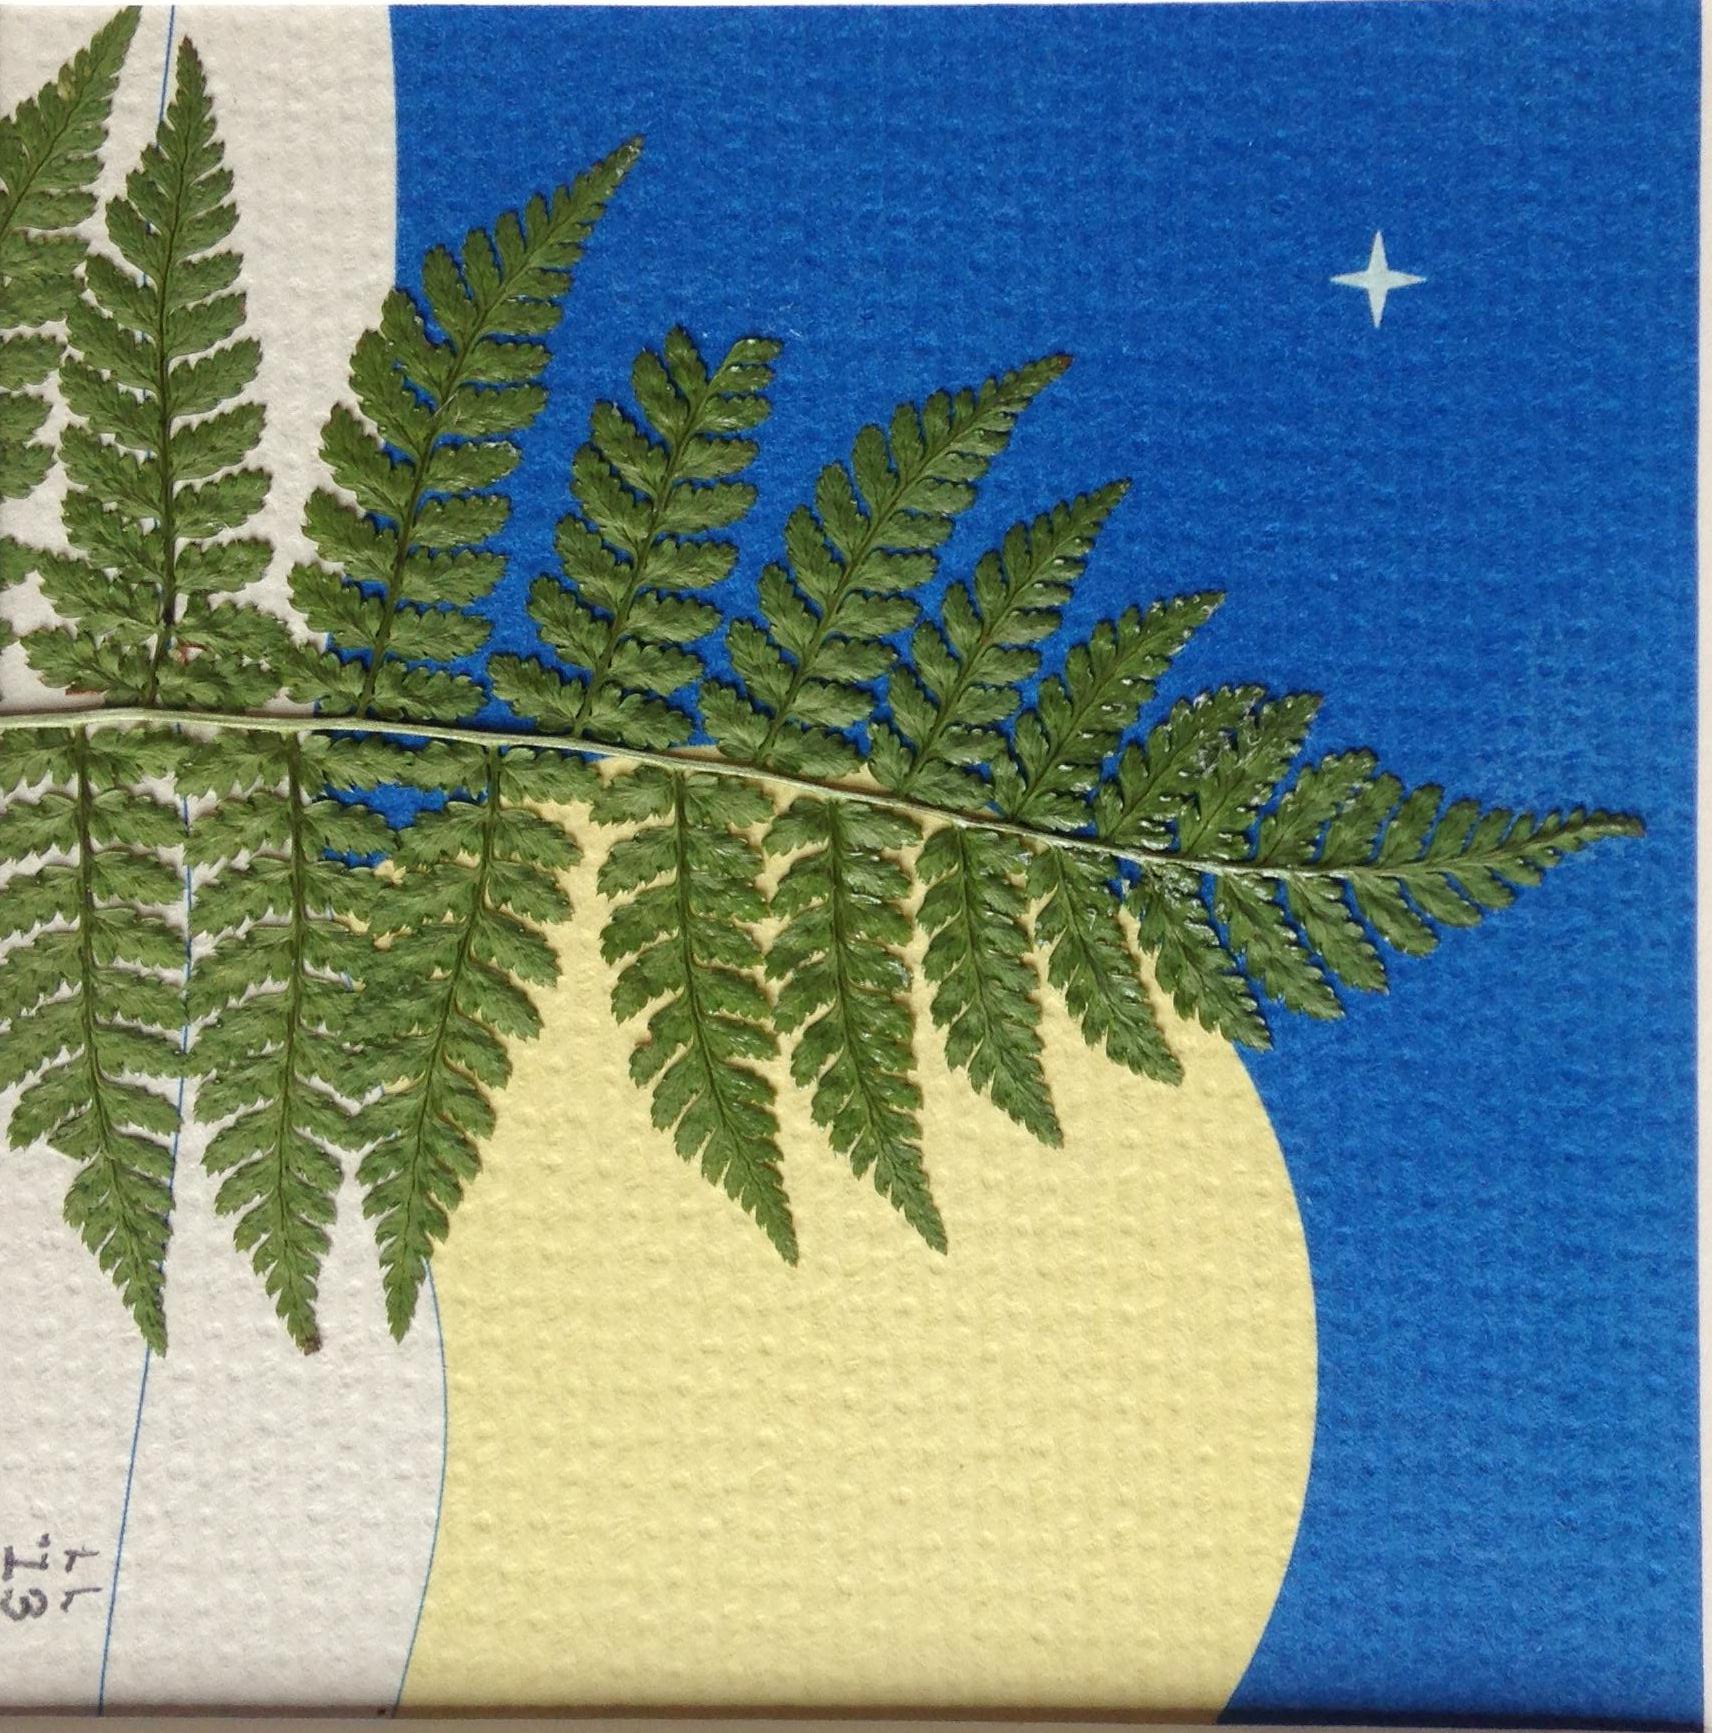
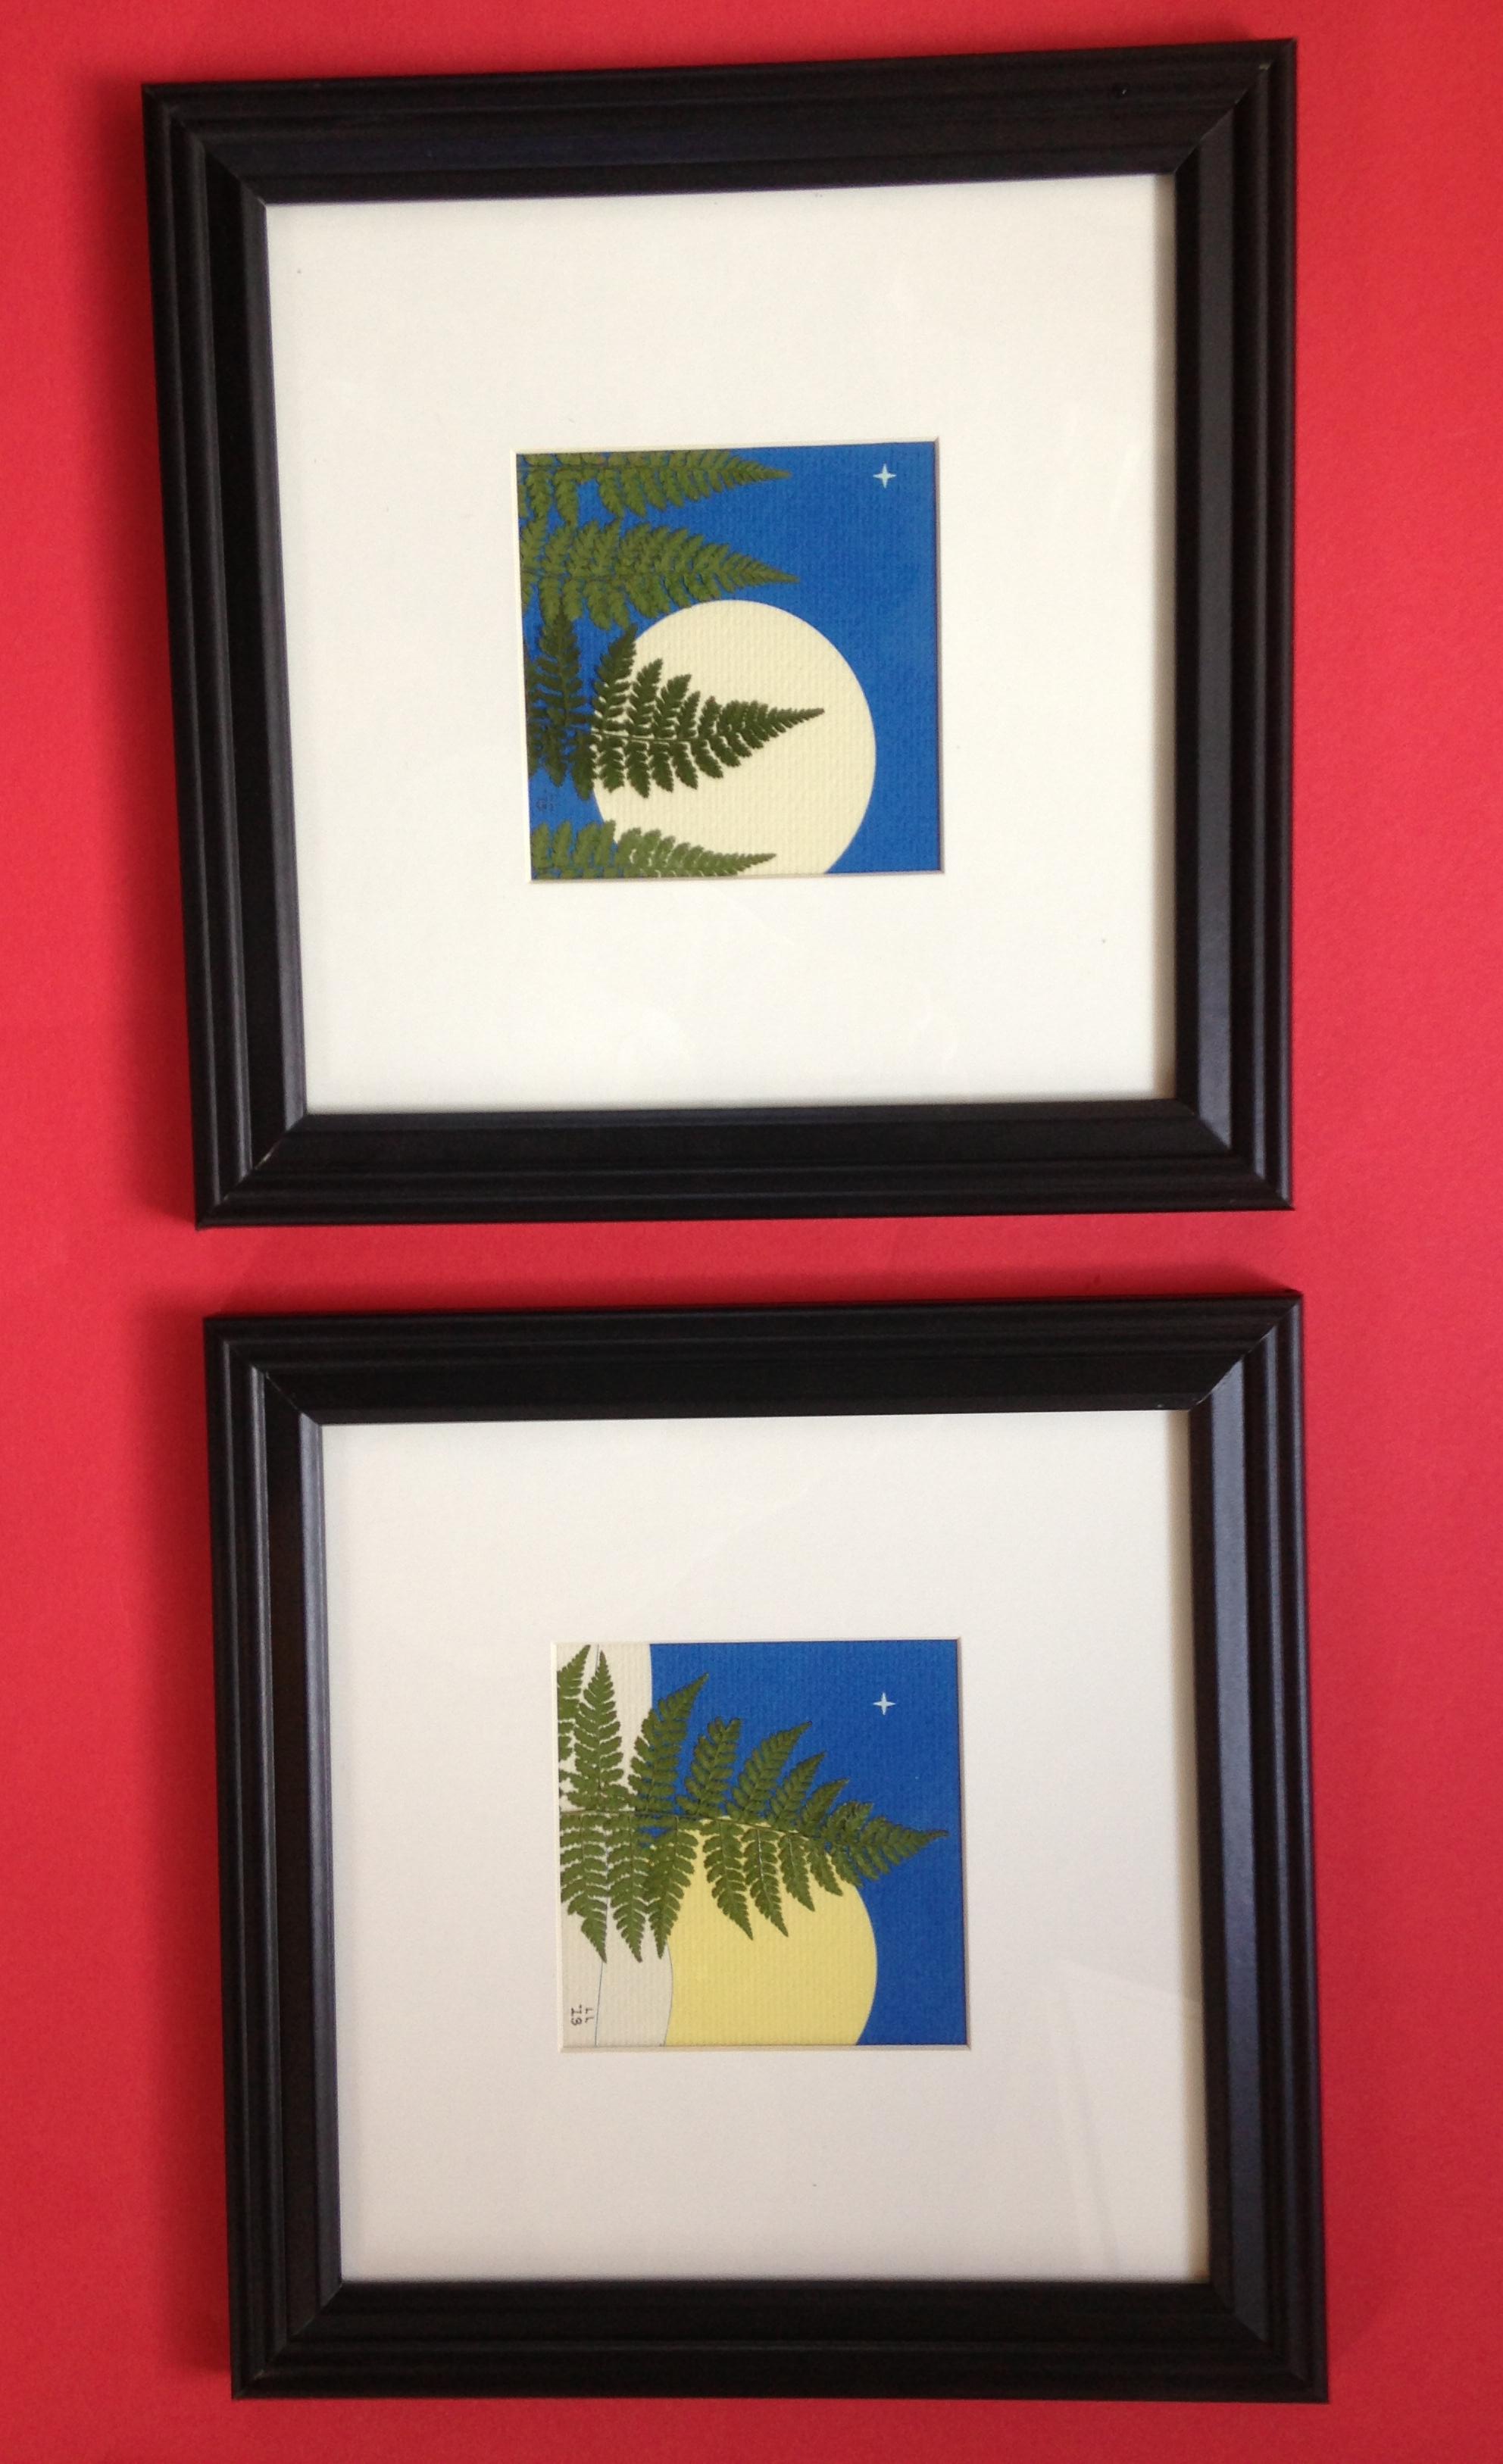
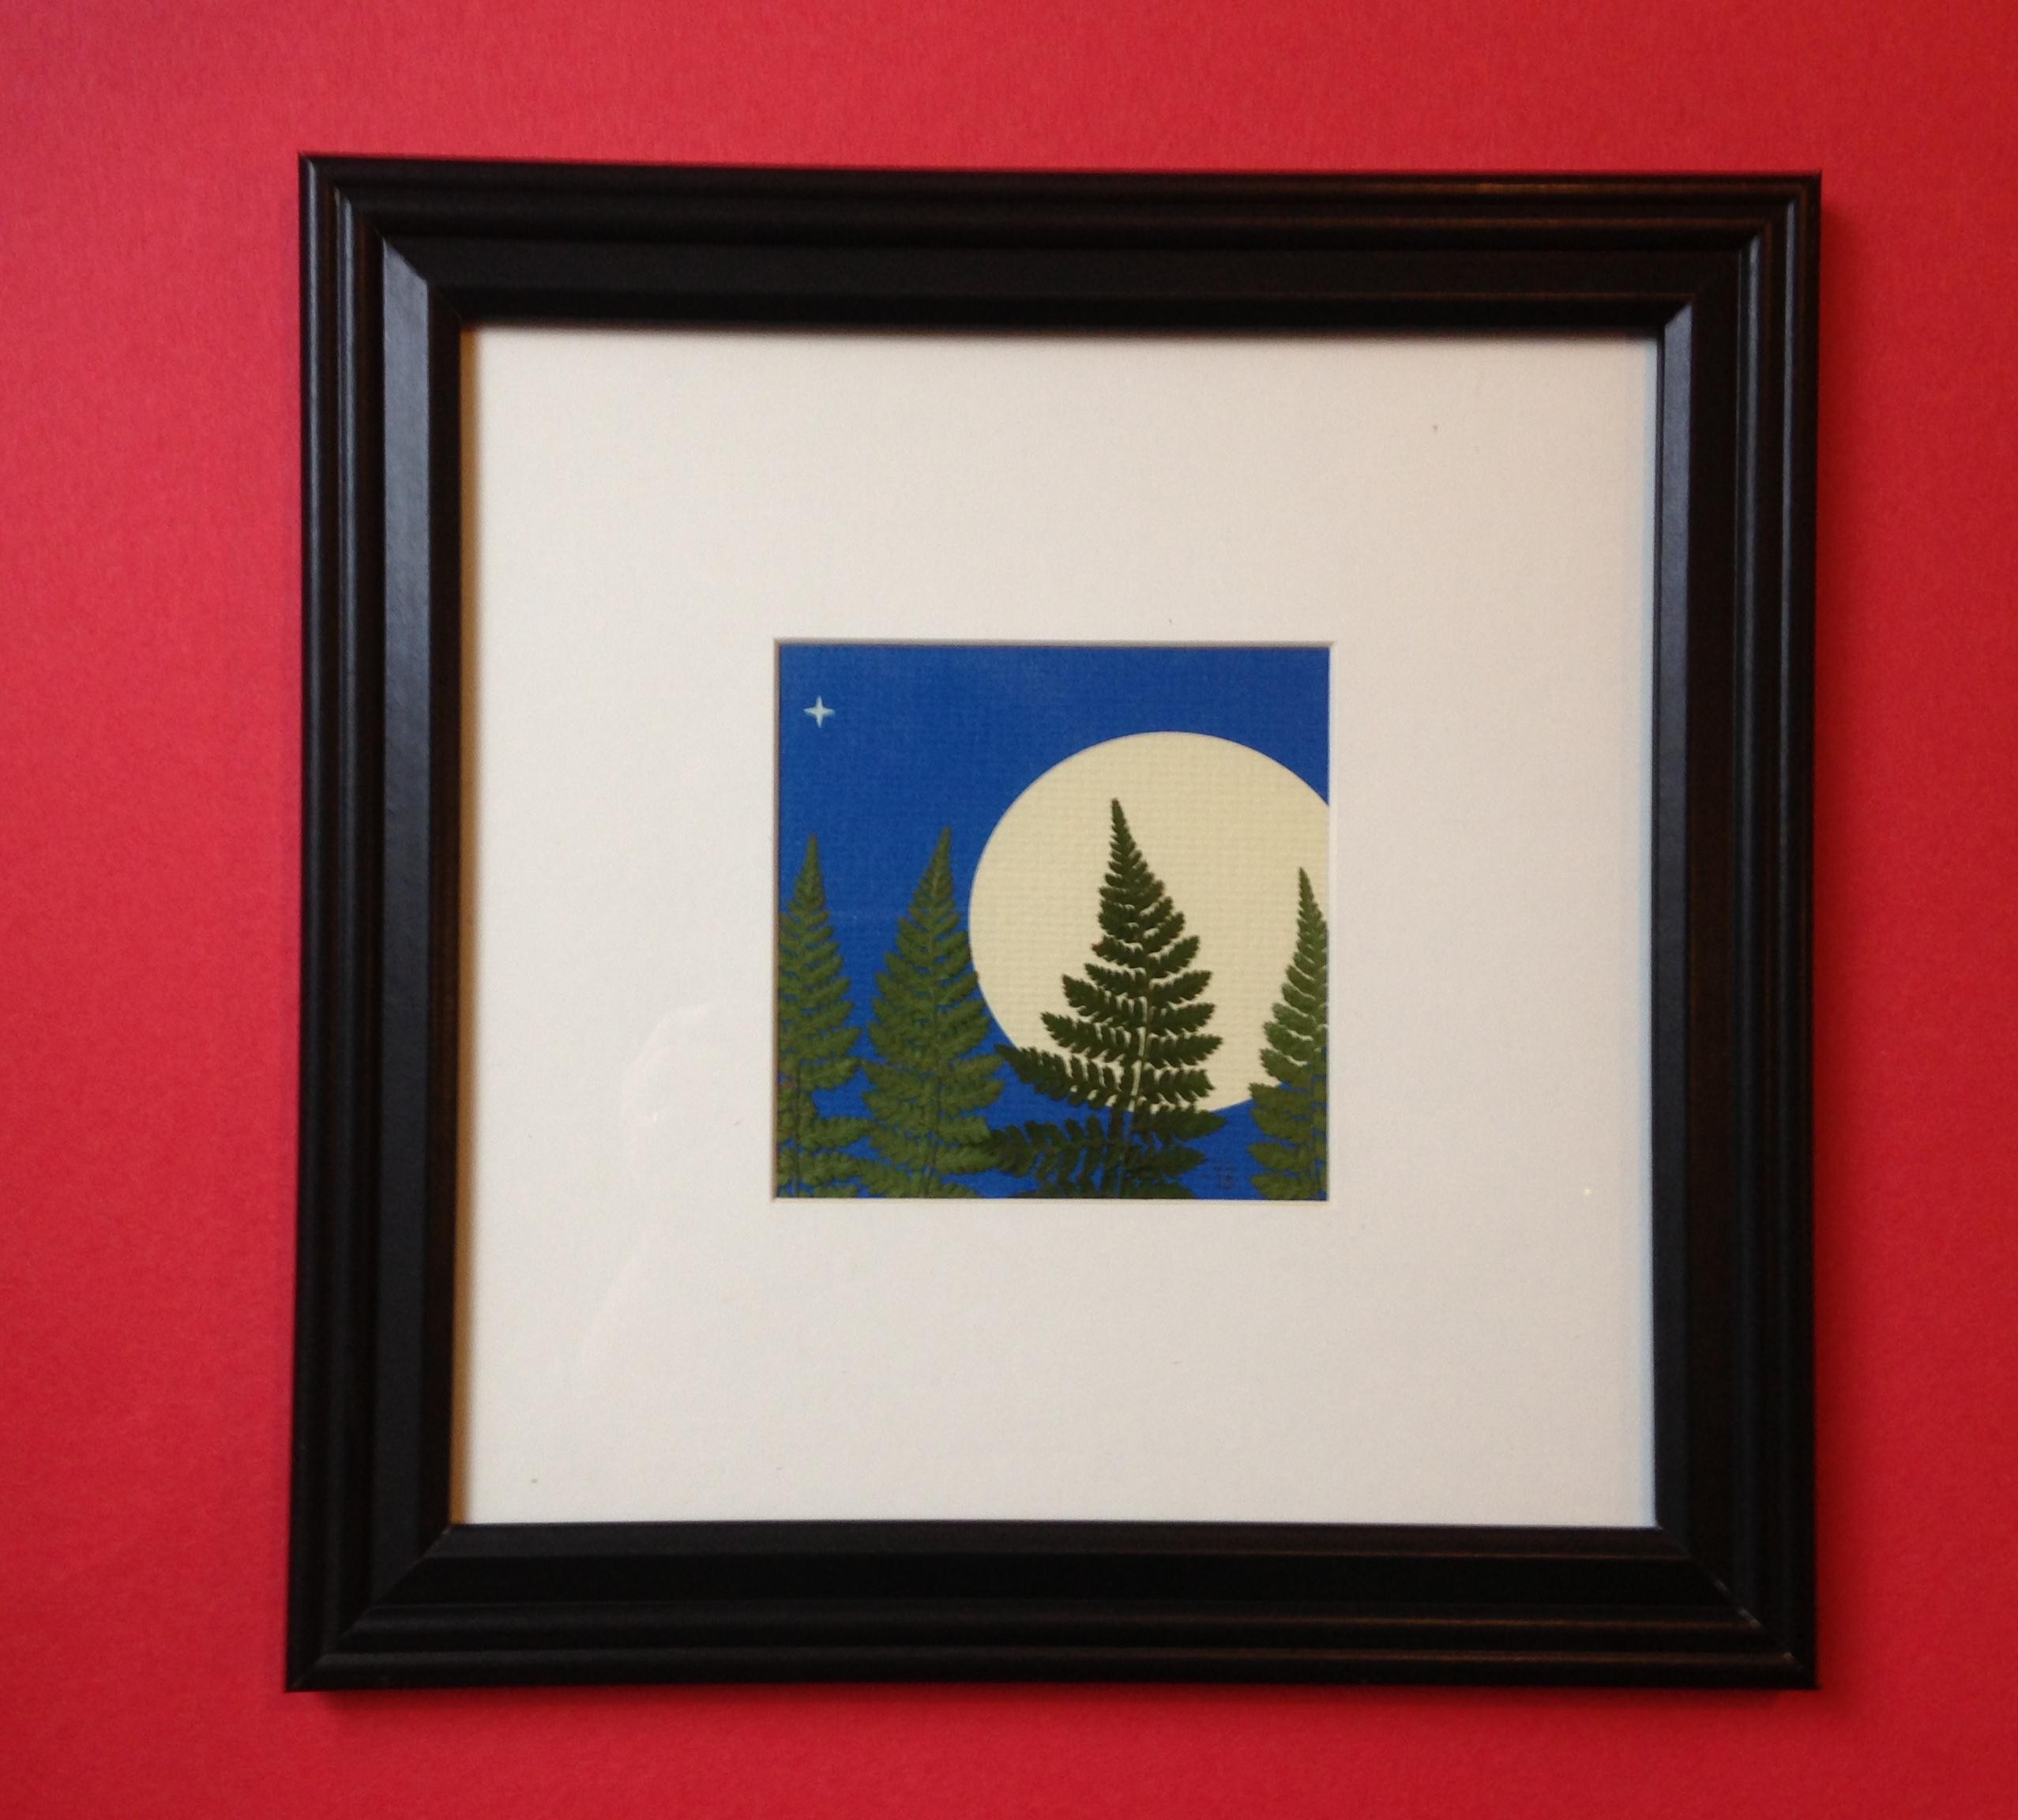

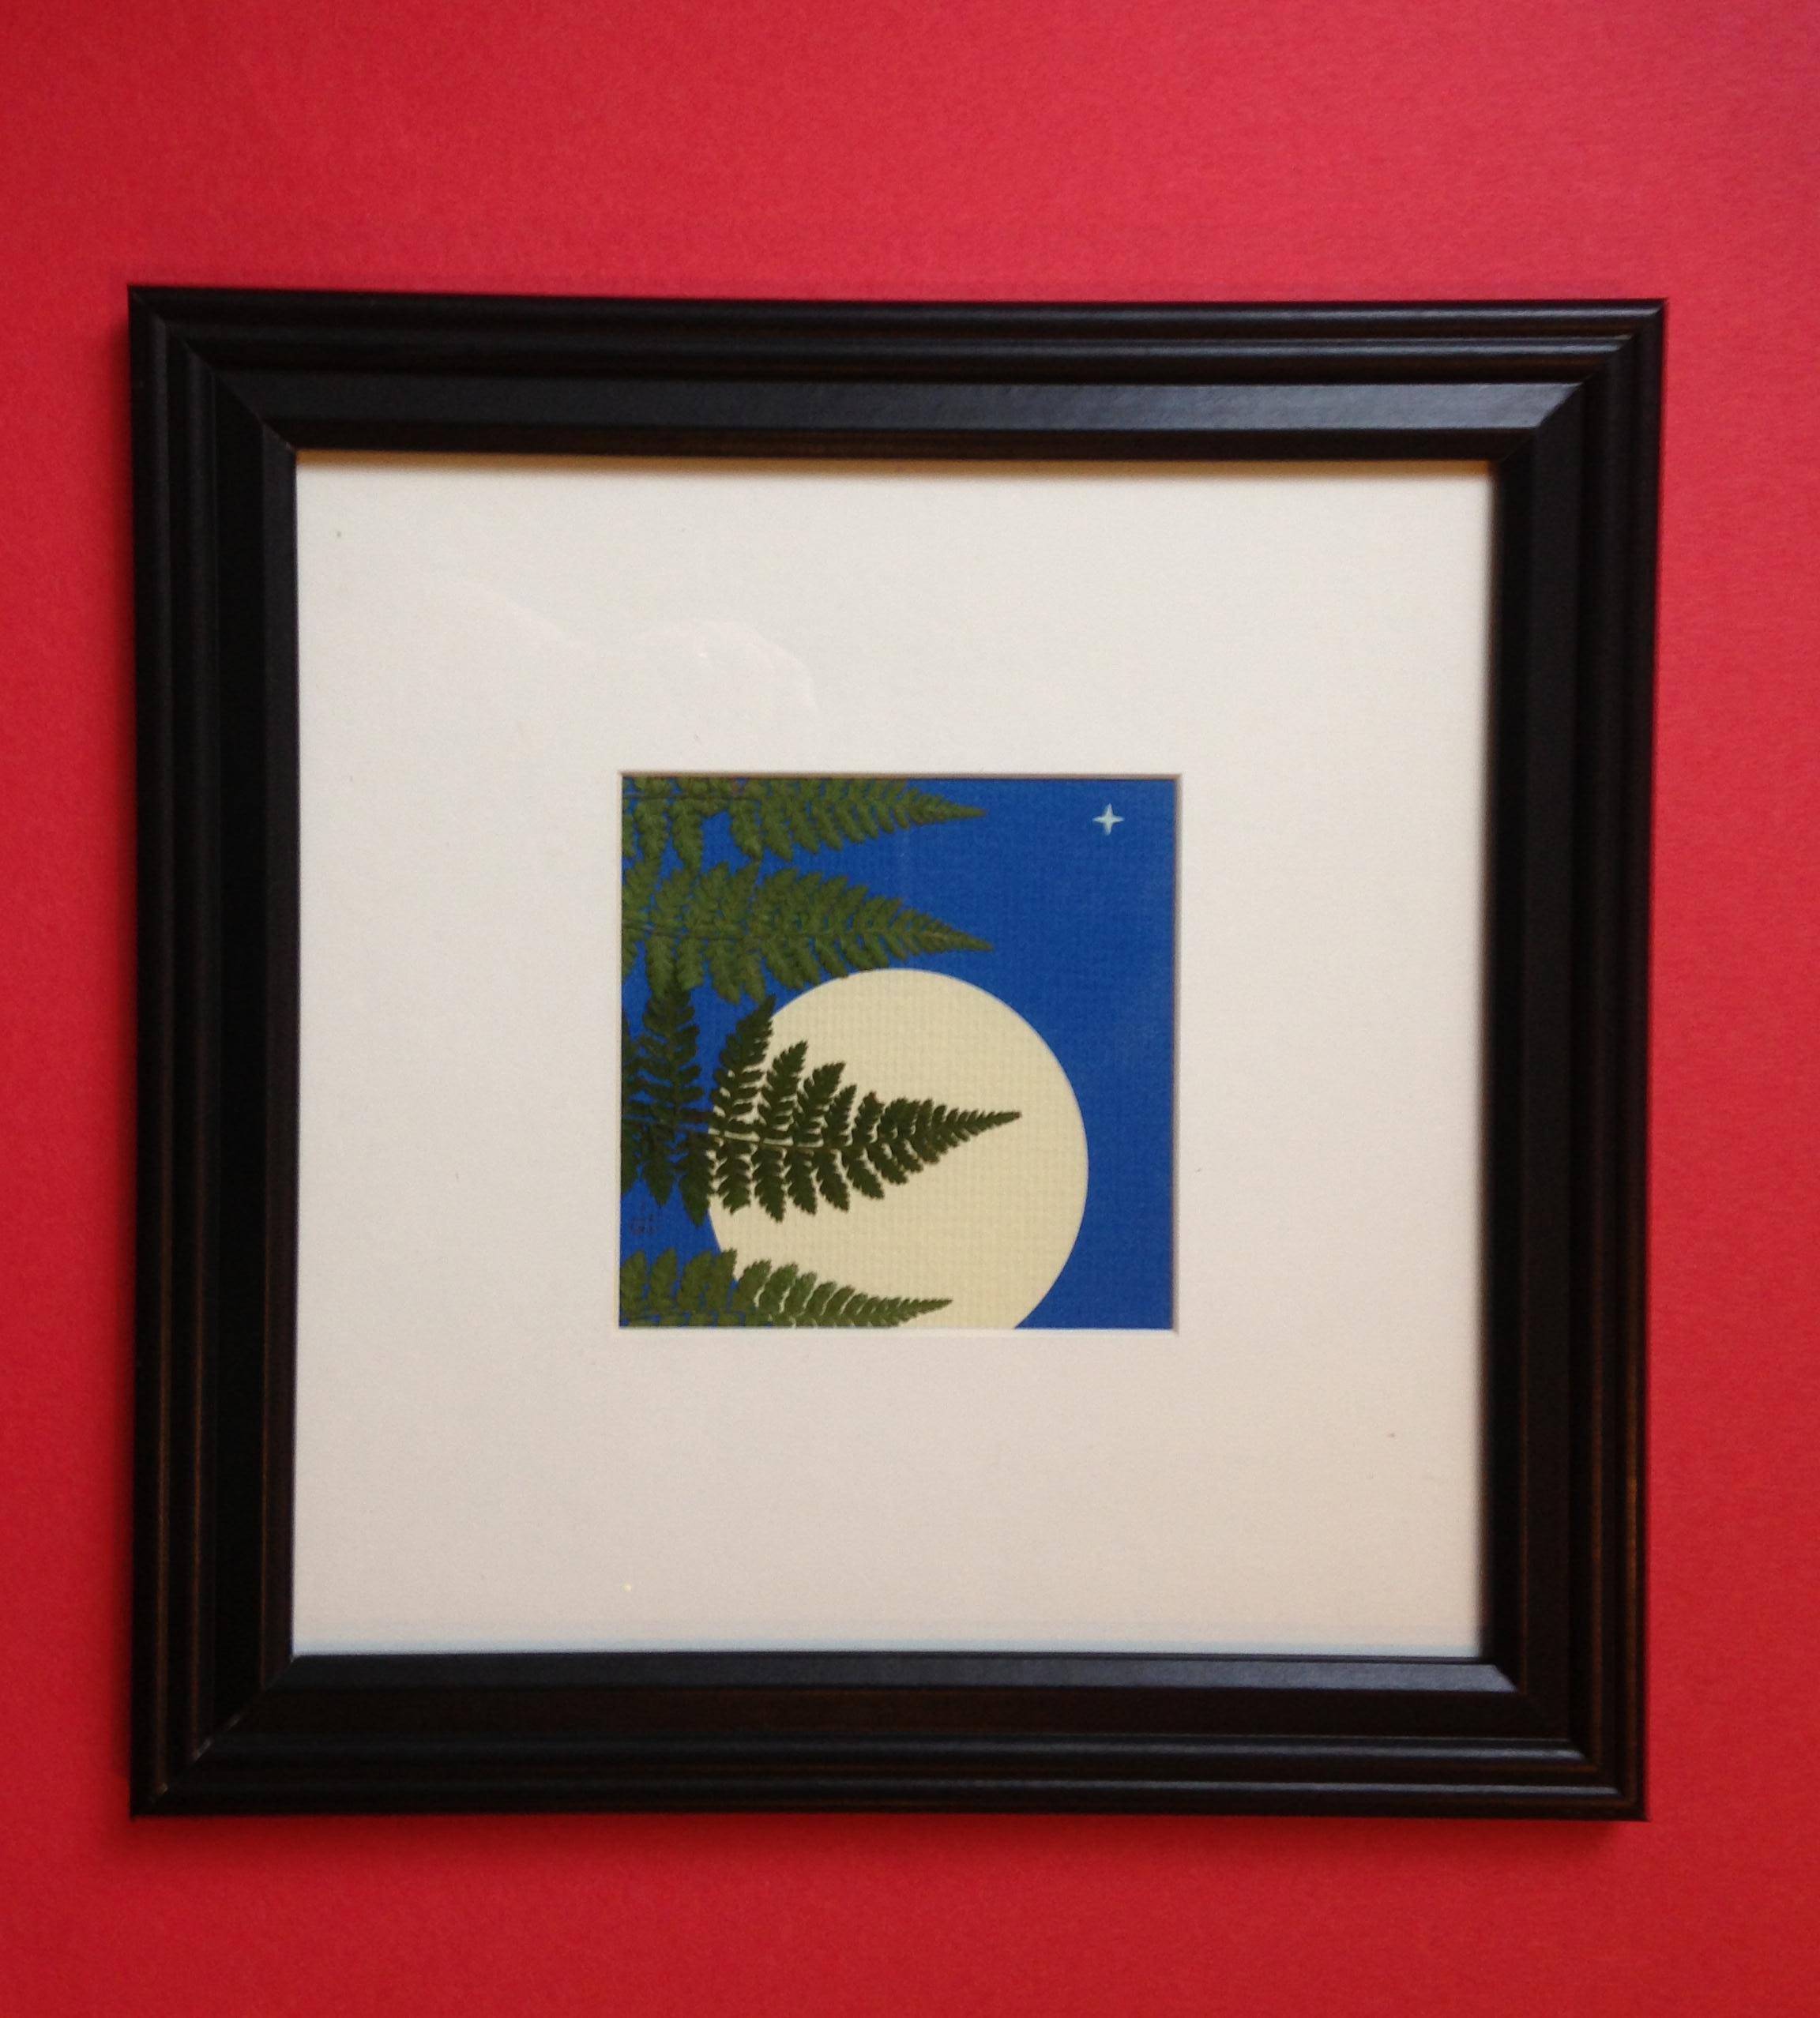
Just when I thought my supply of pressed ferns from last year’s garden was finally depleted, I was walking the perimeter of my little property and found these brave winter survivors hiding under a hydragea. They were thriving there and none the worse for wear despite all the snow that fell in Stonington this winter. I could hardly wait the two weeks it took to get them prepared for a botanical collage. I have more waiting in the wings so watch for more in the coming days. In order to enhance their visibility against the ‘night’ sky, I mounted three of them with the lighter back of the frond showing. To see more of this growing body of pressed botanical work, click here.
Just when I thought the supply of pressed ferns from last year’s garden had been depleted, I was walking the perimiter of my (1/4 acre) property and found these great green ferns which had actually thrived all winter, snow and all. They were growing under my hydrangea where I never remember seeing ferns in the past. I could hardly wait to process them and get to work. Here is the first result. I have one double-headed one that will eventually make it into a larger composition. You can see I used the lighter back side of three of the fronds better to show up against the night sky. I’ve already completed the graphic for a companion piece that will have a wintery aspect. Maybe tomorrow. See the rest of this growing collection here.

I think these terrariums that are popping up everywhere look great grouped beneath botanical art!

Wow! I’m seeing terrariums every where these days. Even mainstream retailers like Pottery Barn, West Elm, and CB2 are getting in on the action. What’s a terrarium you ask? Basically it’s a transparent glass container in which plants are grown. It’s also an incredibly budget friendly way to bring color and life to your decor, even if your thumbs are a color other than green. Terrariums can be personalized to fit your design style and are even a fun project to keep the kids occupied on rainy days.
{How to Create Your Own Terrarium}
1. Find yourself a container. Use glass jars, a wine decanter, vases, water pitchers, ball canning jars (you get the idea) that you already have, pick something interesting up from your nearest thrift store, or check out some of the options available from Pottery Barn, West Elm, and CB2.

2. Pick your plants…
View original post 237 more words
 Well, OK, that’s not exactly how the riddle goes. Anyway, here is a blue companion to my earlier black grid with tinted Azalea. A red one is in the works. They’ll look great hung side-by-side. When I have all three ready, I’ll group them as a set in my Etsy shop.


